HOW TO INSTALL A SMART LOCK FOR RENTERS (A NO-DRILL GUIDE)
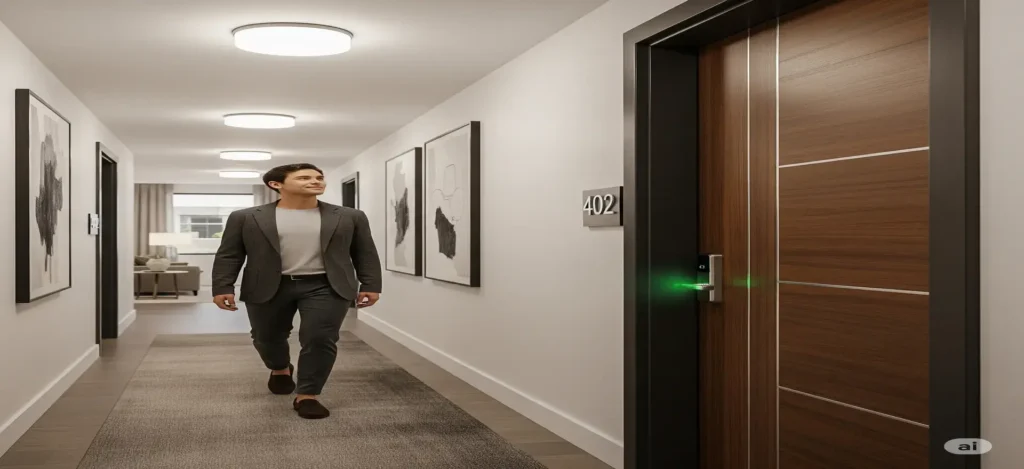
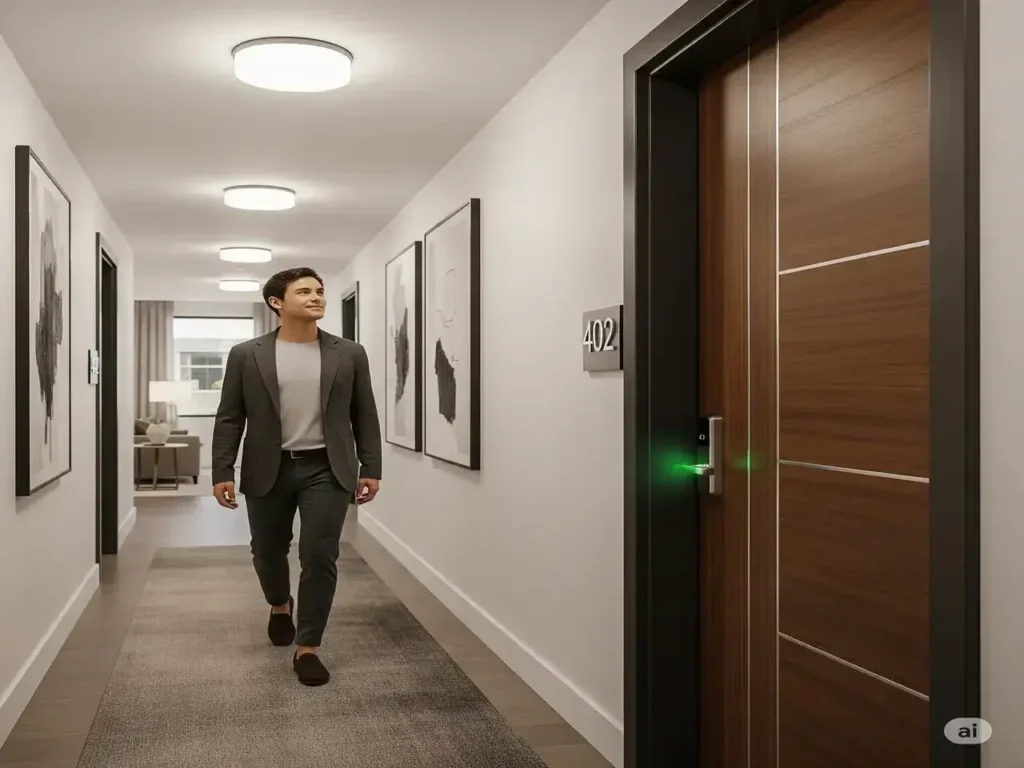
Keyless Convenience is for Every Renter
Installing a smart lock is one of the most empowering upgrades you can make to your rental home. It offers keyless entry, guest access, and peace of mind, but the fear of drilling or damaging the property is a major hurdle. This guide will walk you through the entire process of installing the perfect smart lock for renters, ensuring you enhance your security without risking your deposit.
This tutorial focuses on “retrofit” smart locks, which are specifically designed to be installed on the inside of your door, leaving the exterior lock and your original keys completely untouched. You’ll only need a screwdriver and about 15 minutes to complete the upgrade, making it a cornerstone of a modern smart home for renters.
Before You Begin: The Renter’s Pre-Installation Checklist
A successful installation starts before you even open the box. Taking a few minutes to check these points will save you headaches later.
Step 1: Check Your Door’s Compatibility
First, confirm you have a standard single-cylinder deadbolt. This is the most common type of lock found in rental properties, with a keyhole on the outside and a thumbturn latch on the inside. Retrofit smart locks are engineered to replace this interior thumbturn. Take a quick photo of your lock and compare it to the compatibility guides on the manufacturer’s website to be sure.
Step 2: Review Your Lease (and When to Notify Your Landlord)
As we covered in our main guide for renters, most leases restrict permanent alterations. Since this installation is 100% reversible, you are typically in the clear. However, it’s a good practice to send a brief, courteous email to your landlord letting them know you are installing a non-permanent smart lock on the interior of the door and will restore the original hardware upon moving out. This transparency helps maintain a positive relationship.
Choosing the Right Renter-Friendly Smart Lock
The secret to a no-damage installation is choosing a retrofit smart lock. Unlike models that require you to replace the entire deadbolt mechanism, these smart devices only replace the interior component. Top brands in this category include:
August: Widely considered a top choice for its easy installation and discreet design.
Wyze Lock: A budget-friendly and highly popular option, praised by reviewers like PCMag.
SwitchBot Lock: Another simple, stick-on solution that requires even less modification.
This guide will use the August Wi-Fi Smart Lock as the primary example. Its installation process is representative of most high-quality retrofit models, and you can always consult the official August installation guides for specific details.
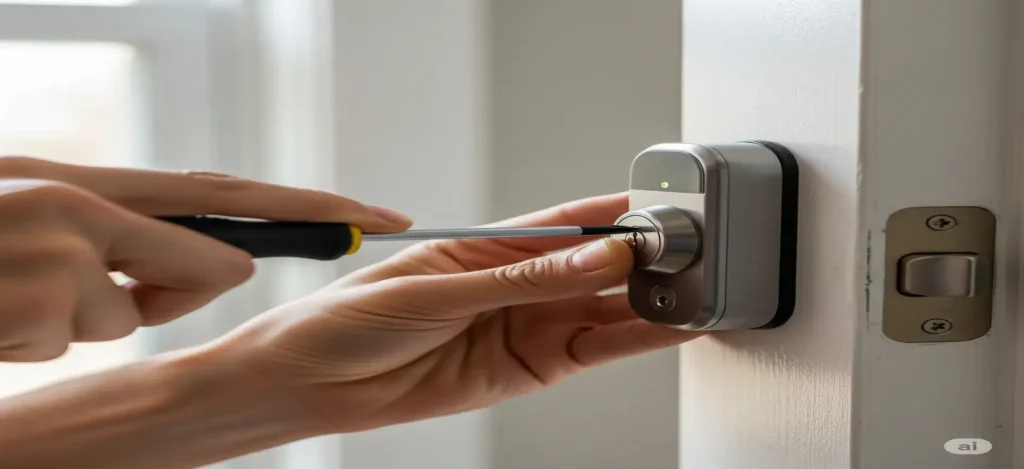
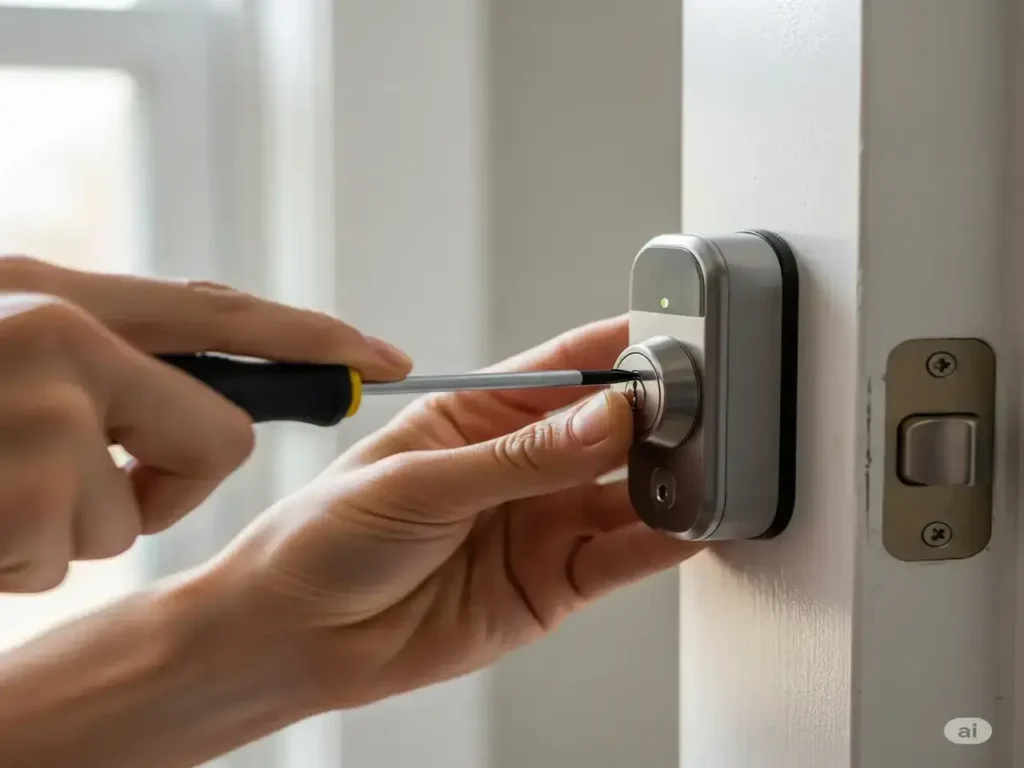
Step-by-Step Installation Guide: From Box to Done in 15 Minutes
Here is the simple, step-by-step process to get your new lock up and running. This renter-friendly smart lock installation is designed to be straightforward for everyone.
Step 1: Prepare Your Door and Tools
Use a strip of painter’s tape to secure your deadbolt from the outside of the door. This is a crucial trick that prevents the exterior lock from falling out when you remove the interior thumbturn. The only tool you’ll need is a standard Phillips head screwdriver.
Step 2: Remove the Interior Thumbturn
With the tape in place, unscrew the two screws holding the thumbturn assembly to the inside of your door. Carefully remove the thumbturn piece. Place the original thumbturn and its screws in a labeled bag and store it somewhere safe. You will absolutely need these when you move out.
Step 3: Attach the Correct Mounting Plate and Adapter
Your smart lock kit will come with several mounting plates and color-coded adapters to fit different deadbolt brands (like Kwikset, Schlage, etc.). Consult the instruction manual or the in-app guide to identify the correct plate and adapter for your specific lock. Attach the mounting plate over the hole using the original screws you just removed.
Step 4: Mount the Smart Lock
Slide the main smart lock unit onto the mounting plate, making sure it connects properly with the adapter and the deadbolt’s tailpiece. Secure it by deploying the side “wings” or latches. It should feel snug and secure against the door with no wobble. The process for fitting a smart lock on a rental property should feel solid and secure at this stage.
Setting Up the App and Smart Features
The physical installation is done. Now, let’s bring it to life with software. This no-drill smart lock setup continues with the app configuration.
Step 1: Download the App and Create an Account
Search for the manufacturer’s app (e.g., “August Home”) in your phone’s app store. Download it, and follow the prompts to create a new account and add a new device.
Step 2: Calibrate the Lock
The app will guide you through a mandatory calibration process. This is where the lock learns the exact start and end points of its rotation to be fully locked and fully unlocked. It will ask you to manually open and close the deadbolt several times. Do not skip this step; it’s essential for reliable performance.
Step 3: Connect to Wi-Fi and Enable Smart Features
Connect the lock to your rental home’s Wi-Fi network (some models, like the August Wi-Fi, have it built-in, while others may require a small plug-in bridge). Once connected, you can explore the features that make it the best smart lock for renters:
Auto-Lock: Automatically locks the door after a set amount of time or when you leave.
Auto-Unlock: Uses your phone’s location (geofencing) to unlock the door as you approach.
Guest Access: Grant temporary, keyless access to friends, family, or service providers without ever having to share a physical key.
The Final Test: Ensuring Everything Works Flawlessly
Before you start relying on your new smart lock, test every function thoroughly:
Manual Test: Turn the lock by hand from the inside. It should move smoothly without grinding.
App Test: Lock and unlock the door multiple times using the app on your phone, both over Wi-I and your cellular connection.
Original Key Test: This is the most important test. Go outside, close the door, and test that your original physical key still locks and unlocks the deadbolt perfectly from the exterior.
Welcome Home to Smarter, Simpler Living
Installing a renter-friendly smart lock is more than just a simple home improvement; it’s a fundamental upgrade to your daily life. It’s the peace of mind knowing your door is secure from anywhere in the world. It’s the simple joy of coming home to a door that unlocks for you, and the freedom of granting access to loved ones without ever cutting a key. You haven’t just installed a gadget; you’ve installed confidence and convenience, proving that a smarter, more secure home is accessible to everyone—no matter where you live.
Related posts:
- Forget Everything Else: The Ultimate August Wi-Fi Smart Lock Guide for Renters. by EasySmartHomeGuide Editorial Team — Updated 3 September, 2025 Forget...
- THE DEFINITIVE GUIDE TO A SMART HOME FOR RENTERS THE DEFINITIVE GUIDE TO A SMART HOME FOR RENTERS by...
- Smart Home Devices for Renters: No‑Drill Upgrades Smart Home Devices for Renters: No Drill Upgrades by EasySmartHomeGuide...
- A COMPLETE GUIDE TO SETTING UP YOUR DIY ALARM SYSTEM (AS A RENTER) RENTER FRIENDLY ALARM SYSTEM: YOUR COMPLETE DIY SETUP GUIDE by...

