No-Drill, No Drama: Damage-Free Smart Lighting for Renters
A renter-friendly lighting plan that avoids drilling or swapping wall switches. Use smart bulbs in lamps, adhesive LED strips for bias/ambient light, smart plugs to upgrade “dumb” lamps, and adhesive buttons for physical control. Add voice routines for Movie Night and Quiet Hours. Portable, reversible, landlord-happy. See smart home for renters and voice assistants for renters.
Why Your Landlord Secretly Loves This Plan
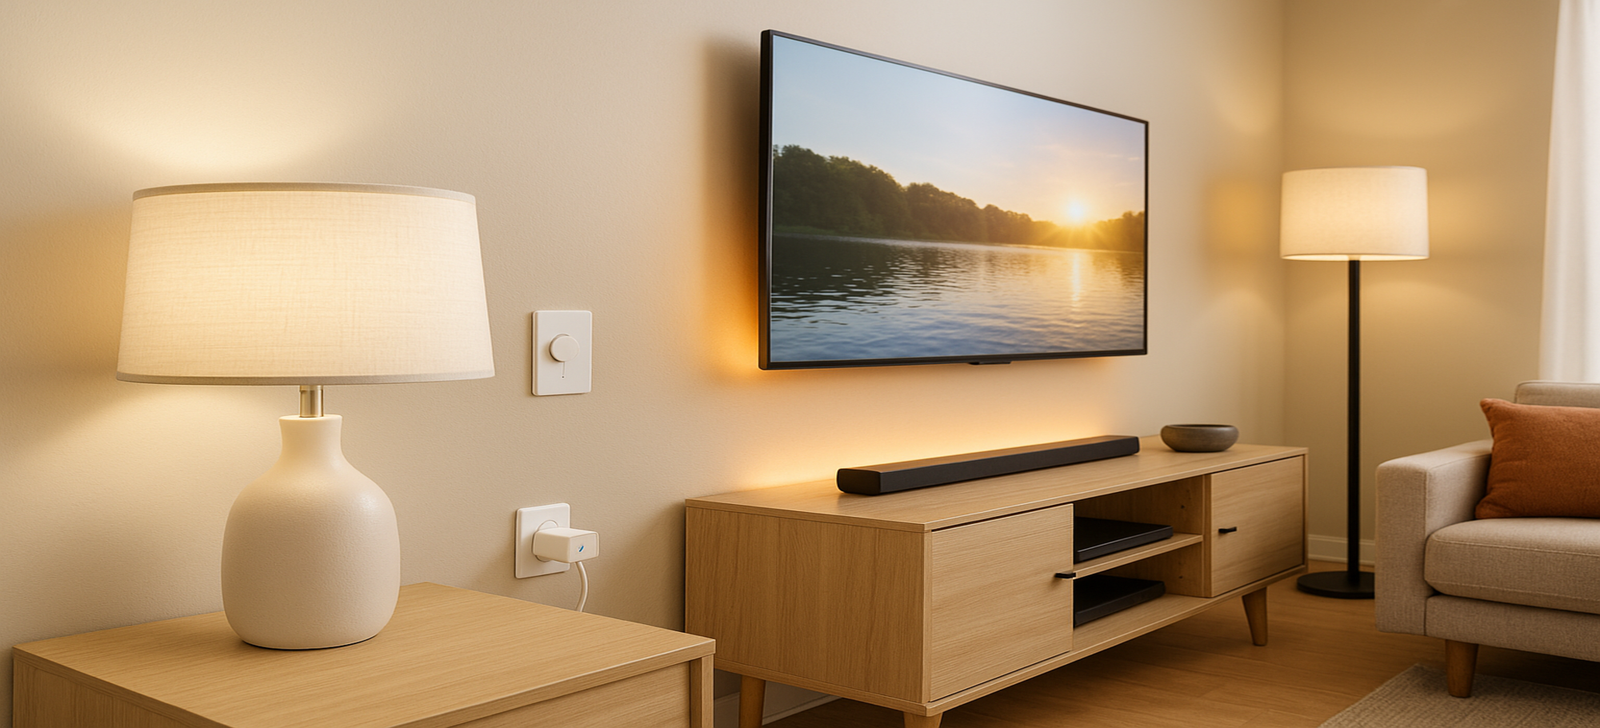
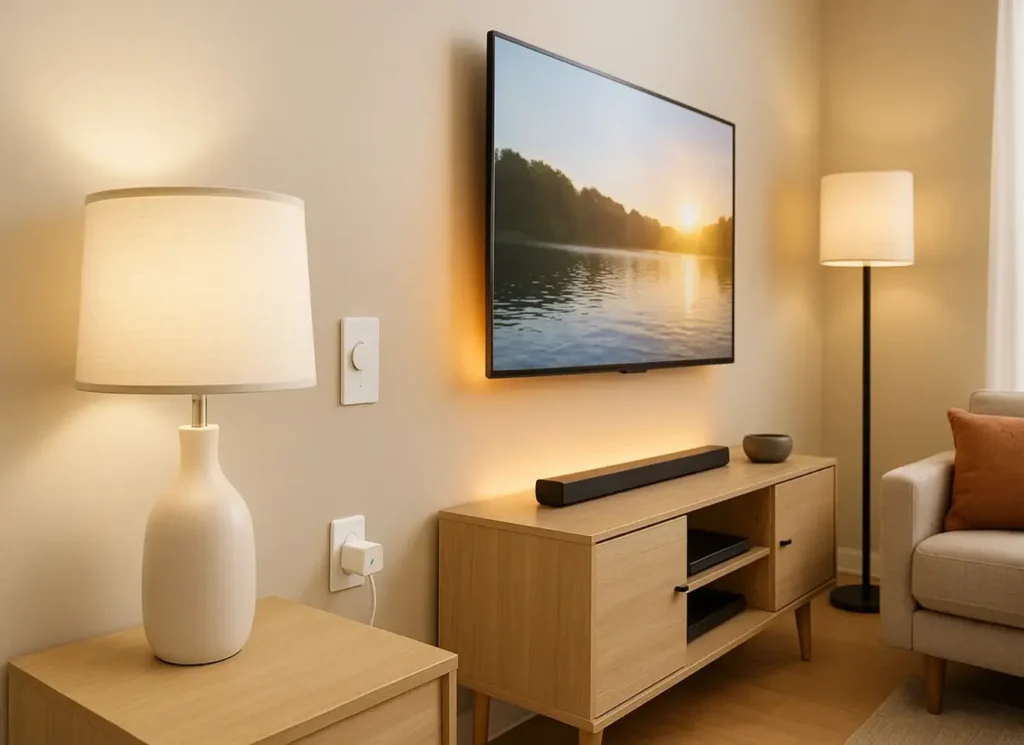
Holes, paint damage, and mystery wiring don’t mix with a lease. A no-drill lighting setup keeps everything on furniture, shelves, and adhesive surfaces you can remove cleanly at move-out. You keep comfort and mood; the walls stay intact. It’s also modular: add pieces now, pack them later, rebuild in the next apartment.
This guide stays practical. We’ll name neutral examples (two per category), avoid prices, and skip retailer links. When your individual reviews go live, link to them from here and send shoppers deeper into your site.
Why Smart Lighting for Renters Is the Best Option
No-Drill & Damage-Free
Adhesive LED strips, bulbs in regular lamps, and smart plugs give you scenes and dimming without touching in-wall wiring or switches. For removal, follow stretch-release techniques on reputable adhesives to protect painted walls. See 3M Command’s official how-to for apply/remove and the step-by-step for picture hanging strips.
Portable & Modular
Because nothing is permanently installed, you can start small—one smart bulb and one LED strip—and scale room by room. At move-out, everything unplugs and packs in minutes. Your lighting “kit” travels with you and works in any new floor plan.
Roommate-Friendly & Private
Voice routines and adhesive buttons let everyone control lights without unlocking your accounts. Use Guest Mode/Voice Match in your assistant ecosystem to limit personal results while sharing basic controls. Combine a simple wall-adjacent button with a shared voice routine and you’ve covered both preferences.
Voice-Ready & Future-Proof
If devices support Matter, you’re less tied to a single brand or platform over time—useful for renters who move or change ecosystems. Matter is a unifying, IP-based standard from the Connectivity Standards Alliance (CSA) designed to improve reliability and cross-platform control. Learn more at the CSA’s Matter overview.
How to Build It (Step by Step, No Switch Swap)
Step 1: Define Your Scenes and Rooms
List the scenes you truly need: Movie Night (living room), Quiet Hours (late night), Wake-up (bedroom), Motion-on (hall/kitchen). Decide whether you want tunable white only or full color. Use warm whites at night to be neighbor- and sleep-friendly.
Room-by-room recipes:
Living room — Movie Night: warm white at 25–35%, bias lighting low amber, accent lamp dimmed. Everyday: neutral white at 60–70% for chores.
Bedroom — Wake-up: gentle sunrise ramp from 1% to 60% over 15–20 minutes. Bedtime: 2700 K at 10–20%.
Kitchen/Hall — Motion-on: bright neutral for 5–10 minutes, then auto-off.
Desk — Focus scene: cooler white at 4000–5000 K; Break scene: warm 3000 K at 40%.
Step 2: Choose Your Brain (App + Voice + Ecosystem)
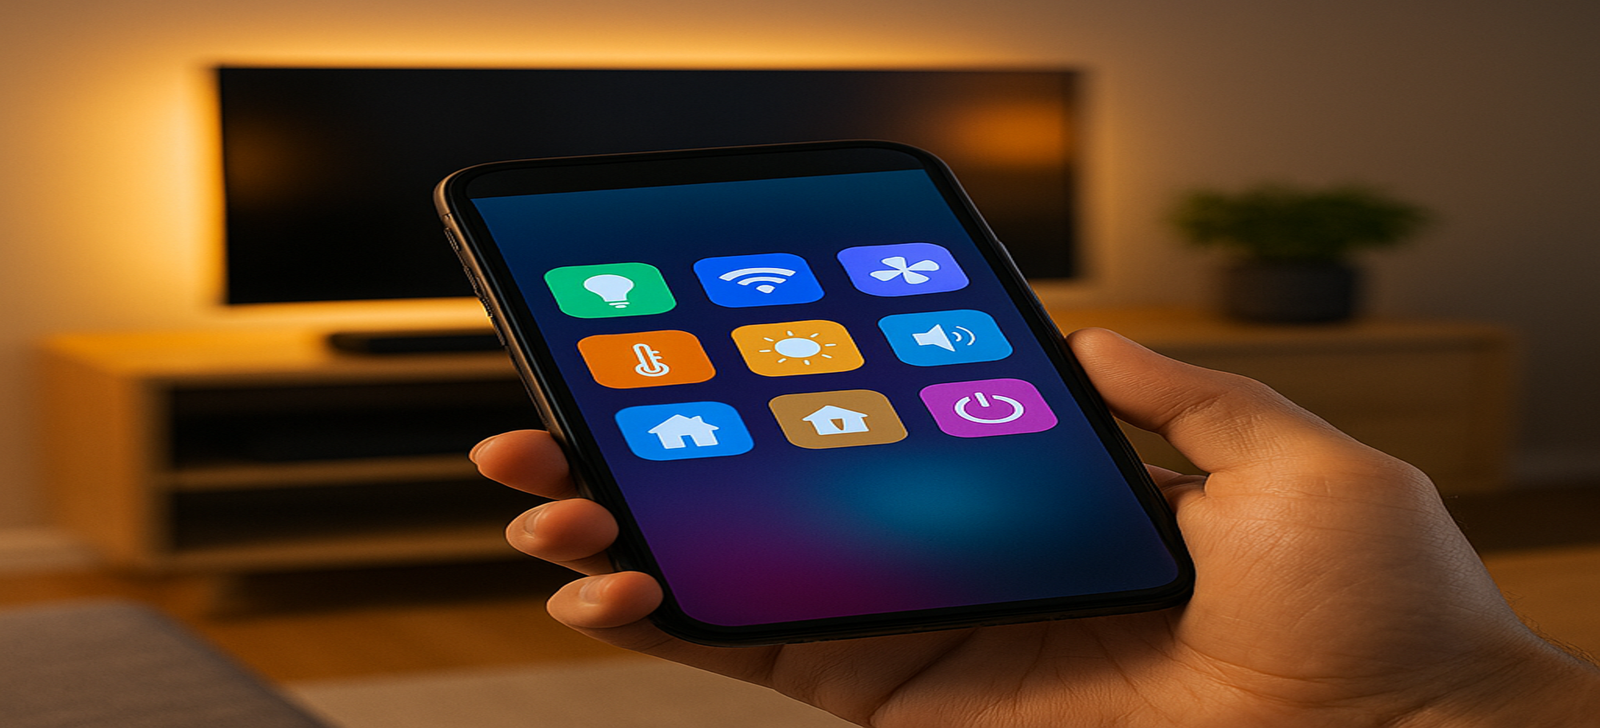
Decide whether you’ll run mostly under Alexa or Google, and try to keep one brand per room for smoother pairing and less app-juggling. If you can, favor accessories with Matter support to avoid lock-in and make multi-ecosystem migrations easier over time.
How-to references: set up Google Home routines and Alexa Routines.
Practical setup order:
Add your bulbs/strips/plugs in their own apps if required.
Link the brand account to your assistant.
Name devices clearly by room + function.
Create two core routines; add more later.
Test voice commands from your normal seating position.
Step 3: Smart Bulbs in Lamps (No Wiring)
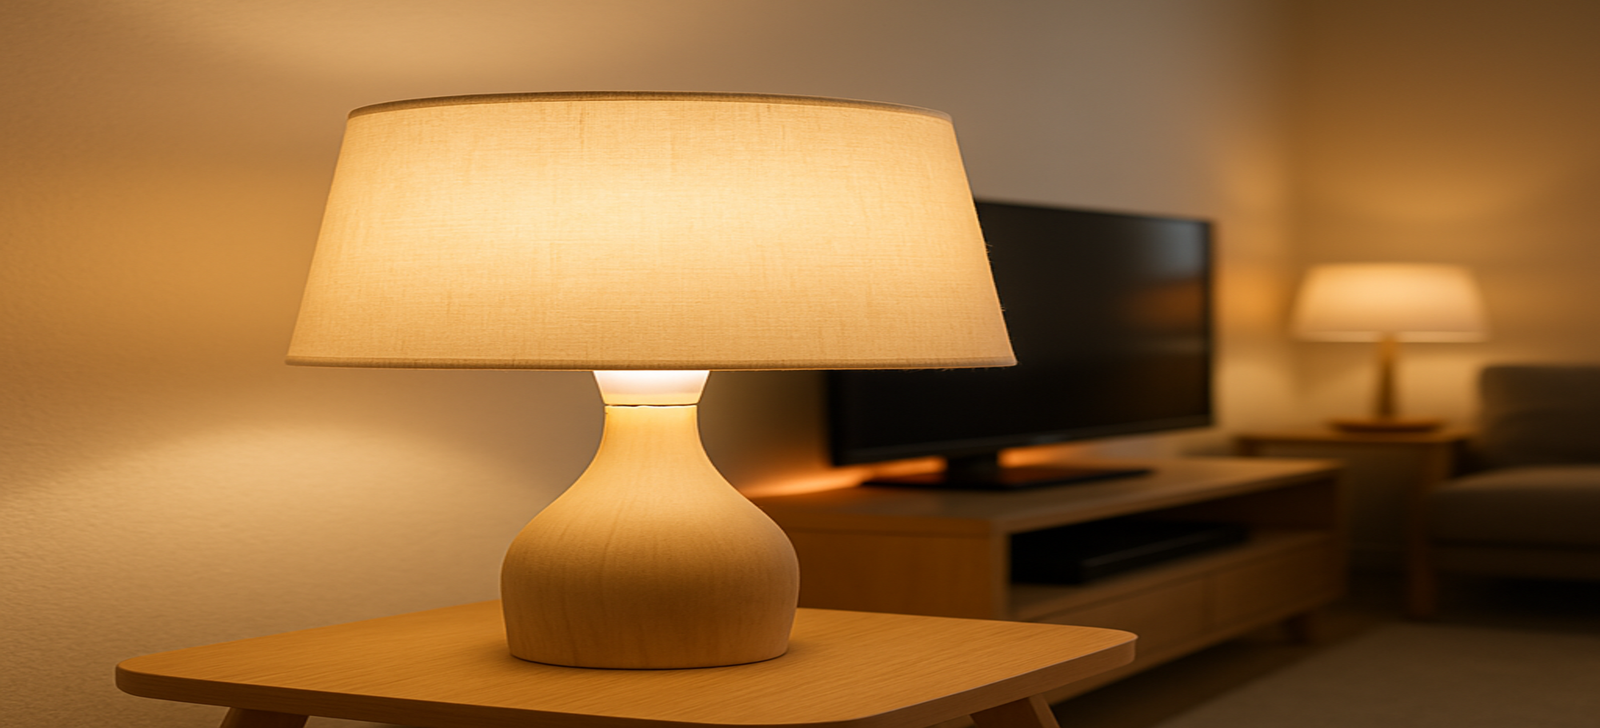
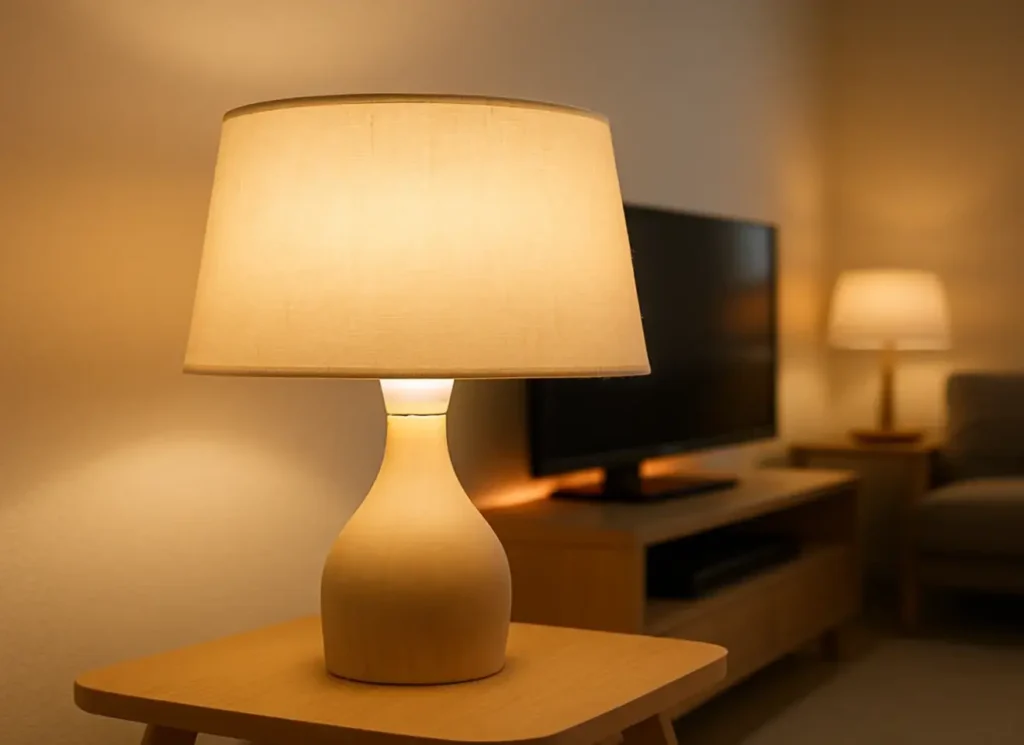
Start with lamps you already own. Put A19/E26 smart bulbs in table/floor lamps and leave the wall switch ON; control via app, button, or voice. Choose brightness (lumens), CCT (color temperature), and consider CRI (color rendering) for natural-looking rooms—higher CRI often renders colors more faithfully. Background on CRI: NIST overview.
Neutral examples (2): A19 color bulb (full RGB + tunable white) · A19 tunable white bulb (warm-to-cool).
Bulb tips:
Pick bulbs around 800–1100 lumens for most floor/table lamps.
For reading corners, aim 2700–3000 K at 40–60% brightness.
If someone flips the wall switch, the bulb loses power—use an adhesive button to avoid that.
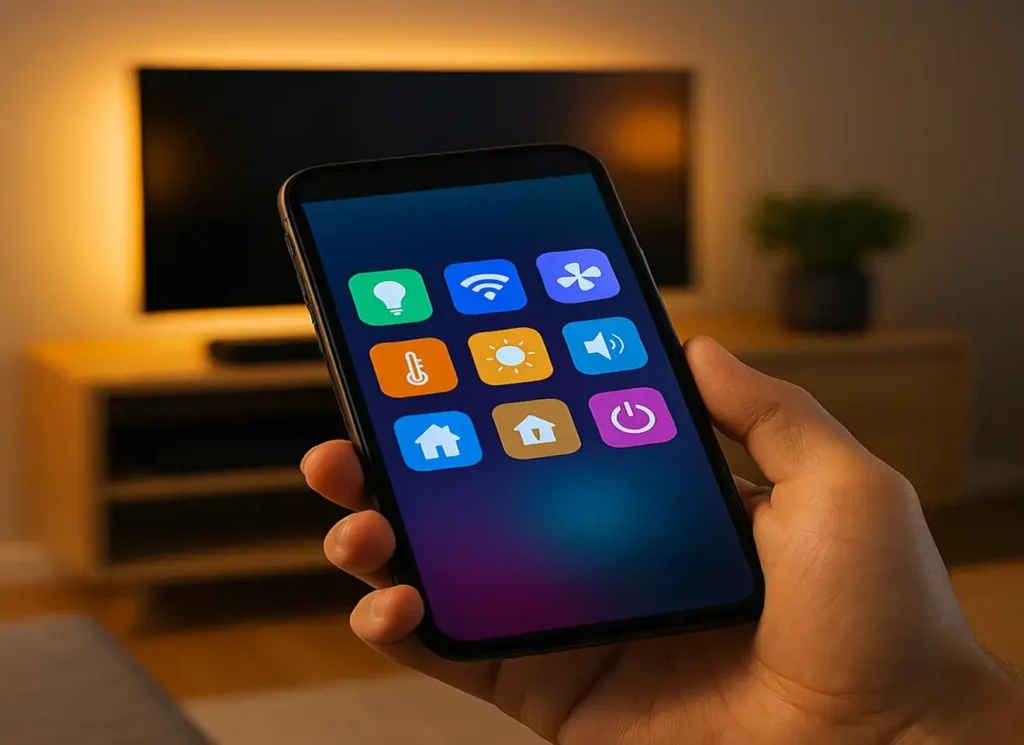
Step 4: Adhesive LED Strips (Bias & Ambient)
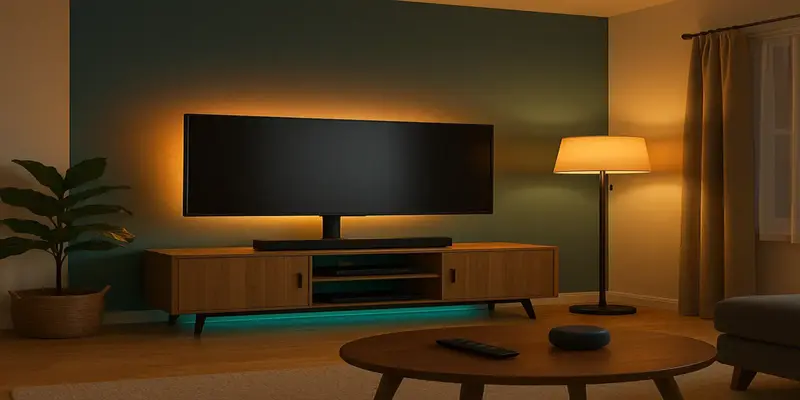
Run an adhesive LED strip behind the TV for bias lighting, along a shelf, or under a console. This creates soft indirect light that reduces eye strain and makes the room feel larger at lower brightness. Avoid sharp bends; keep the strip a couple of centimeters from edges for even glow.
Neutral examples (2): RGBIC LED strip, 5 m · Lightstrip base kit.
Placement and power:
Measure twice; plan corners with L-connectors or gentle loops.
Clean with isopropyl alcohol; apply with firm, even pressure.
Power from a surge-protected strip; hide slack with clips.
For bright rooms, add a second strip behind the console lip.
Adhesive note: apply to clean, dry surfaces and remove with slow, straight-down stretch when moving out. See 3M’s apply/remove and removal steps.
Step 5: Smart Plugs for “Dumb” Lamps
Use smart plugs to make basic lamps or small decorative lights “smart” without touching wiring. Confirm max load, name them clearly (“Console Plug”), and group them per room for quick routines.
Neutral examples (2): compact smart plug · smart plug with energy monitoring.
Safety and placement:
Keep plugs accessible for manual override and pairing.
Avoid daisy-chaining power strips.
Label power bricks so they reunite with the right lamp on moving day.
Step 6: Adhesive Buttons/Remotes (The Anti-Switch)
Prevent accidental “dumb outs” when someone flips the wall switch OFF. Stick adhesive smart buttons/remotes near the wall switch to provide physical on/dim/night controls without cutting power. Map single-press, double-press, and long-press to your staple scenes.
Neutral examples (2): adhesive 3-action button · wall-friendly adhesive dimmer.
Mapping ideas:
Single press — On/Off or “Evening Warm.”
Double press — Movie Night.
Long press — Nightlight at 5–10%.
Step 7: Routines & Schedules (Apartment-Friendly)
Build two foundational automations:
Movie Night — set living room lamps to warm low (e.g., 25–35%), bias lighting to soft amber, and optionally pause notifications.
Quiet Hours — after 10 p.m., cap brightness and switch to warm whites; optionally disable high-impact color scenes.
Guides: Google Home routines and Alexa Routines.
If devices support Matter, scene behavior is more likely to stay consistent when you switch platforms later. See the CSA’s Matter page.
Extra routines that help renters:
Welcome Home — entry lamp to 50% warm white at sunset or on arrival.
Away — randomize one lamp in the evening to simulate presence.
Work Mode — desk lamp to cooler white during work hours; auto-dim at lunch.
Step 8: Cable Taming & Reversible Mounting
Use adhesive cord clips and raceways; avoid nails or screws. Keep power and signal paths separate where possible, and coil excess gently. Clean with isopropyl alcohol before applying adhesives; remove later with a slow straight-down stretch. 3M’s basics: apply/remove.
Layout checklist:
Route along furniture backs, not across open walls.
Keep cords off baseboard heaters and away from door swings.
Color-match raceways to the wall or furniture for invisibility.
Step 9: Test & Tune (Neighbor-Friendly)
Run your most common scenes at night and ask: Is reading light comfortable at ~2700–3000 K? Are accent colors too bright for late hours? Adjust per room, per time of day. If someone in the house hates voice control, map your adhesive button to a simple on/off + dim macro.
Fine-tuning tricks:
If whites feel “cold,” lower CCT or add a warm accent lamp.
If a color scene feels loud, reduce saturation before brightness.
If eyes feel strained, increase bias lighting and lower TV brightness.
Step 10: Move-Out Checklist (Zero Drama)
Power off, label per room, and bag accessories by device. Photograph wiring before disassembly. Warm adhesives with a hair dryer if needed and stretch-release straight down to avoid paint damage. Follow the 3M step-by-step for removal.
Packing order:
Remove buttons and strips first; coil gently on wax paper.
Bag bulbs by room; protect with soft cloths.
Tape a device list to each box for quick re-setup later.
Pro Tips for Apartment Dwellers
Start tiny: one smart bulb + one LED strip + one smart plug + one adhesive button.
Name devices clearly in the app (“Bedside Left”) to make voice control natural.
Keep ecologies simple: one brand per room reduces friction; add Matter where possible for future flexibility (CSA overview).
Use warm whites at night; save saturated colors for early evenings.
Shareable controls: adhesive buttons help roommates/guests; routines automate the rest.
Network sanity: if Wi-Fi is flaky, place your hub/router closer or add a dedicated 2.4 GHz SSID for IoT devices.
Power math: check plug and strip ratings; avoid overloading multi-outlet adapters.
Scene hygiene: limit scenes to a handful of favorites so roommates remember them.
Eyes-first design: bias lighting behind the TV reduces glare and keeps volume lower.
Frequently Asked Questions (FAQ)
Can I do all this without changing in-wall switches?
Yes. Use smart bulbs in lamps, smart plugs for non-smart lamps, and adhesive buttons for physical control—no wiring or drilling required.
Will adhesive LED strips damage paint?
Used correctly, reputable adhesives remove cleanly. Follow straight-down, slow stretch-release per manufacturer instructions. See 3M’s removal steps.
What’s Matter and why should renters care?
Matter is a cross-platform standard (by the CSA) that makes devices work more reliably across ecosystems (Alexa/Google/Apple). It reduces brand lock-in—useful when you move or switch platforms. Learn more at the CSA’s Matter page.
What if my Wi-Fi is spotty?
Place the router closer to common devices, reduce 2.4 GHz congestion, or add a simple Wi-Fi extender. Rename SSIDs predictably before pairing new devices.
Do I need high CRI bulbs?
Not mandatory, but higher CRI generally renders colors more naturally. If you care about décor/skin tones, look for higher CRI options. Background: NIST on color rendering.
How do I automate Movie Night and Quiet Hours?
Use built-in routines. See Google Home and Alexa routine guides: starters (voice/time) and actions (scenes/brightness). Docs: Google, Amazon.
What about motion sensors—are they renter-friendly?
Yes, if they’re battery-powered and adhesive-mounted. Use them sparingly in hallways or bathrooms for night safety without blinding brightness.
Can I mix brands?
Yes, but keep it minimal. One brand per room simplifies scenes and troubleshooting; Matter helps if you switch platforms later.
Final Reflection
This is the renter’s lighting sweet spot: no drills, no wiring, no drama. Start with one lamp, one LED strip, and one smart plug; anchor routines for Movie Night and Quiet Hours; add adhesive buttons for instant physical control. Everything you’ve built here unplugs, packs, and moves with you—just the way a smart rental should be.
Related posts:
- The Brain of Your Rental: How Voice Assistants for Renters Create a Damage-Free Smart Apartment The Brain of Your Rental: How Voice Assistants for Renters...
- HOW TO INSTALL A SMART LOCK FOR RENTERS (A NO-DRILL GUIDE) HOW TO INSTALL A SMART LOCK FOR RENTERS (A NO-DRILL...
- Google Nest Thermostat for Renters: Comfort Without Drills or Drama Google Nest Thermostat for Renters: Comfort Without Drills or Drama...
- Home Theater for Renters: Big Screen, Zero Damage Home Theater for Renters: Big Screen, Zero Damage by EasySmartHomeGuide...

