RENTER FRIENDLY ALARM SYSTEM: YOUR COMPLETE DIY SETUP GUIDE
Protecting your rental home is easier and more affordable than ever with a DIY (“Do It Yourself”) alarm system. This guide reveals how to choose and install a wireless, no-contract renter friendly alarm system in minutes, giving you total peace of mind without needing to drill a single hole or ask for your landlord’s permission.

Why a DIY Alarm is a Renter’s Best Friend
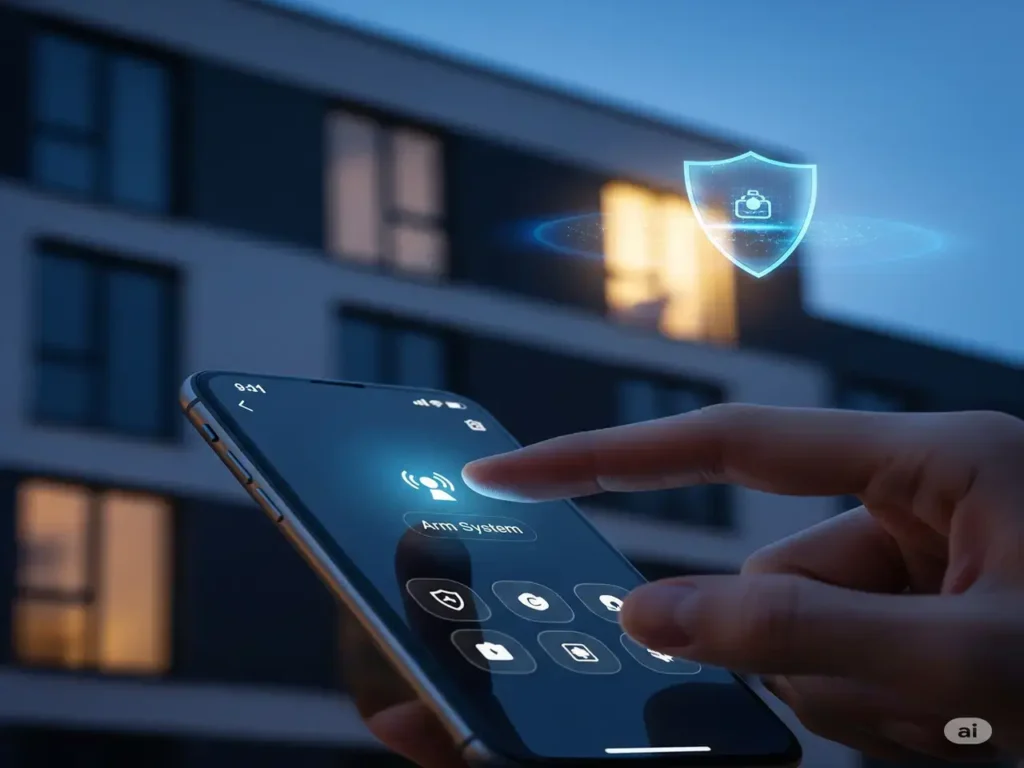
Traditional alarm systems, with their professional installations and lengthy contracts, were never designed for the flexibility that renters need. Modern DIY systems, however, are a perfect match for rental living. They are built around four key advantages that solve the biggest challenges tenants face. First, there are zero long-term contracts, offering total freedom to start or stop professional monitoring as your budget allows. The installation is completely damage-free, utilizing wireless components and strong-but-removable adhesives that protect your security deposit.
Furthermore, the entire system is fully portable. When your lease is up, you simply pack up the components and take your investment with you to the next property. Finally, these systems are customizable and expandable, allowing you to start with a basic kit and add more sensors, cameras, or keypads as your needs evolve over time. This level of control makes a DIY alarm a foundational element for any truly smart home for renters.
Choosing the Right Renter Friendly Alarm System for You
Before you buy, it’s essential to understand the basic components that make up a typical DIY alarm kit. While packages from different brands vary slightly, they almost all include the same core pieces of hardware designed to work together seamlessly.
The Key Components of Your Kit
The Base Station: This is the brain of the system. It’s a small hub that plugs into a power outlet and connects to your Wi-Fi network. It communicates wirelessly with all your sensors and sounds the powerful siren if an alarm is triggered, alerting you and deterring intruders.
Contact Sensors: These small, two-piece sensors are the backbone of your perimeter security. You place them on doors and windows, and when the door or window is opened, the magnetic connection between the two pieces is broken, sending an instant signal to the base station.
Motion Sensors: These are used to cover larger interior areas like a living room, basement, or a main hallway. Using passive infrared technology, they detect the heat and movement of a person within their field of view and will trigger the alarm when the system is armed in “Away” mode.
Keypad: This is typically a wireless, battery-powered pad that you can place near your main entry door. It allows you and your family to manually arm and disarm the system with a PIN code, providing a quick alternative to using the smartphone app.
Popular Brands for Renters
While many brands exist, two stand out for their reliability, ease of use, and renter-friendly approach. SimpliSafe is a pioneer in the DIY security space, well-regarded by experts at publications like TechRadar for its robust performance and wide range of sensors. Alternatively, Ring Alarm is an extremely popular choice that integrates seamlessly with the Amazon Alexa ecosystem, making it a perfect fit if you already use other Amazon devices. Both are excellent choices that embody the no-contract, easy-installation philosophy.
Step-by-Step Setup Guide: Secure Your Home in Under 30 Minutes
This tutorial will walk you through the general setup process for a typical DIY alarm system. The exact steps may vary slightly by brand, but the core principles are universal.
Step 1: Plan Your Coverage (The Map of Your Fortress)
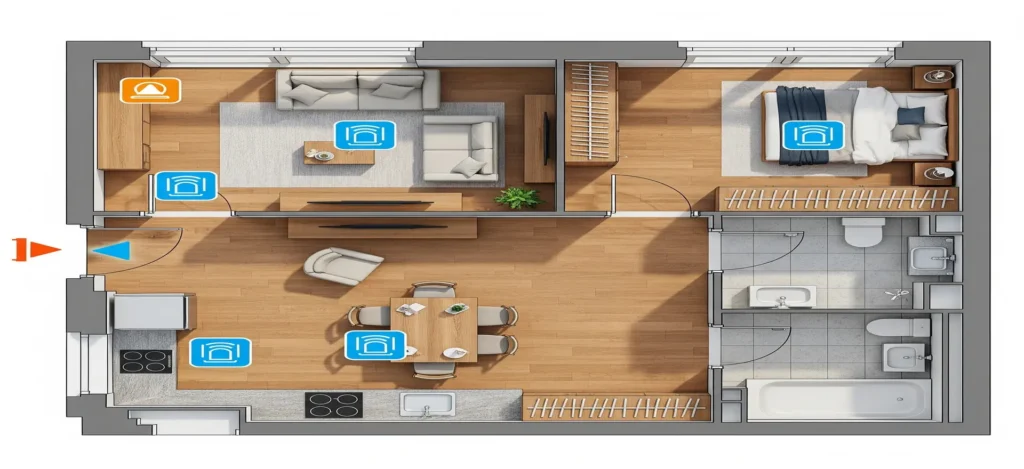
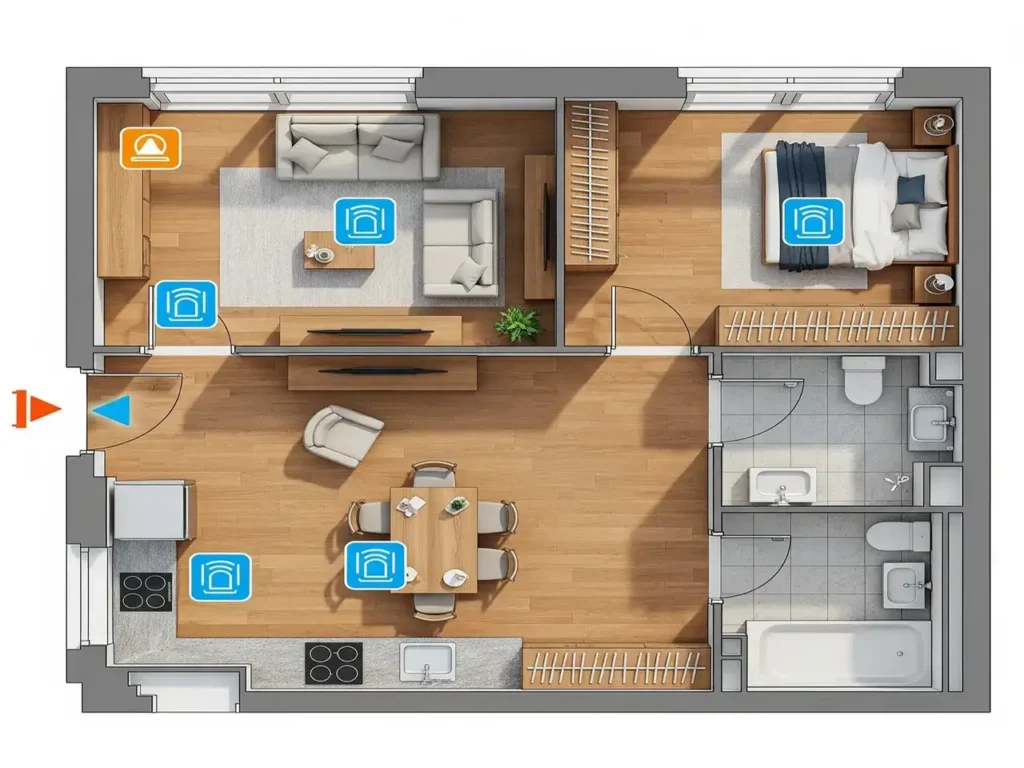
Before you start peeling any adhesive strips, take a moment to plan. Walk through your rental and identify the key points of entry you need to secure. A good starting plan for most apartments or rental homes includes:
A contact sensor on the front door.
Contact sensors on any accessible ground-floor windows, especially those not facing a main street.
A contact sensor on a back door, patio door, or balcony door.
A motion sensor in the main living area or a central hallway that connects the bedrooms and the main entrance.
Step 2: Set Up the Base Station and the App
This is the first hands-on step. Find a central location in your home for the base station, preferably somewhere with a strong Wi-Fi signal and near your primary internet router. Plug it in, download the manufacturer’s app (e.g., Ring or SimpliSafe), and follow the on-screen instructions to create an account and connect the base station to your Wi-Fi network. This process usually takes just a few minutes.
Step 3: Install the Contact Sensors
This step is incredibly simple and requires no tools. First, use an alcohol wipe to clean the surface of your door and doorframe (or window and windowsill) to ensure the adhesive sticks properly. Peel the backing off the two parts of the contact sensor and press them firmly into place—one part on the door/window itself and the other on the frame. Make sure they are close together (as specified in the manual, usually within an inch) when the door is closed.
Step 4: Place the Motion Sensors
Motion sensors work best when placed in the corner of a room, about 6 to 8 feet off the ground, looking down into the space. This high vantage point gives them the widest possible view and reduces the chance of pets setting them off by accident. Most sensors come with adhesive backing for easy, damage-free mounting. Avoid placing them directly opposite heaters, air conditioners, or windows with direct sunlight, as heat sources can sometimes trigger false alarms.
Step 5: Configure the Keypad and Security Modes
Place your wireless keypad on a wall or counter near your main entrance for easy access when you come and go. Once all your sensors are in place, use the app to name each one (e.g., “Front Door,” “Living Room Motion”) and configure your security modes. Typically, you will set up three modes:
Disarmed: All sensors are inactive.
Home: Only the exterior sensors (doors and windows) are active, allowing you to move freely inside without triggering the alarm.
Away: All sensors, including interior motion detectors, are active.
Professional Monitoring vs. Self-Monitoring: What’s Right for a Renter?
One of the best features of any modern, no-contract security system is the flexibility in how you monitor it.
Self-Monitoring (Free): In this mode, if a sensor is triggered, the siren will sound, and you will receive an instant notification on your smartphone. It is then your responsibility to verify the alarm and contact the police or fire department if necessary. This option has no monthly fee and is a great starting point.
Professional Monitoring (Paid Subscription): With this option, alarm signals are also sent to a 24/7 professional monitoring center. A trained agent will attempt to contact you to verify the emergency and, if they can’t reach you or if you confirm there’s a problem, they will dispatch emergency services on your behalf. This service comes with a monthly fee but offers no long-term contracts, so you can activate it when you need it and cancel anytime—a perfect setup for renters.


The Conclusion: Your Secure and Portable Fortress
Gone are the days when a robust security system was a permanent installation reserved for homeowners. With a modern DIY alarm, you can build a powerful, customized, and portable fortress that gives you professional-grade peace of mind. You gain the confidence to know your home is protected, whether you’re at work or on vacation, all with the flexibility that rental life demands.
Related posts:
- THE DEFINITIVE GUIDE TO A SMART HOME FOR RENTERS THE DEFINITIVE GUIDE TO A SMART HOME FOR RENTERS by...
- HOW TO INSTALL A SMART LOCK FOR RENTERS (A NO-DRILL GUIDE) HOW TO INSTALL A SMART LOCK FOR RENTERS (A NO-DRILL...
- Why You Need a Govee Water Leak Detector Under Your Sink (A Renter’s Guide) Why You Need a Govee Water Leak Detector Under Your...
- Forget Everything Else: The Ultimate August Wi-Fi Smart Lock Guide for Renters. by EasySmartHomeGuide Editorial Team — Updated 3 September, 2025 Forget...

