How to Set Up and Use the Amazon eero Pro 7 Tri-Band Mesh Wi-Fi 7 Router
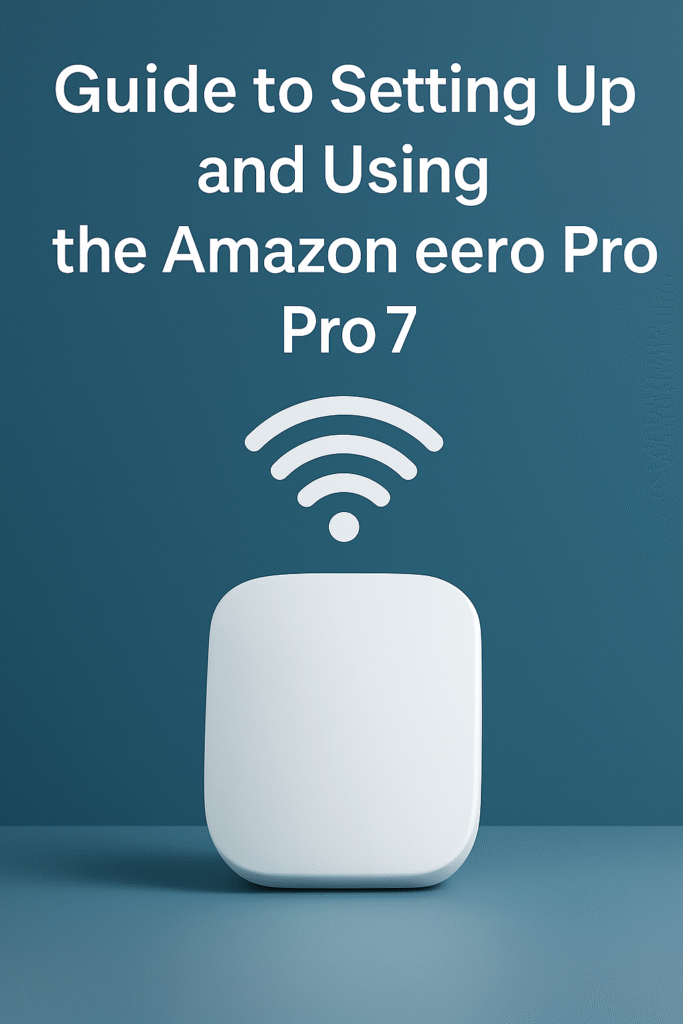
This image has been generated using AI for illustrative purposes only and does not represent an actual product image
Disclaimer:
This guide is for informational purposes only and does not replace professional technical support. Always follow the manufacturer’s instructions when setting up or using your device. easysmarthomeguide.com is not responsible for any damage, data loss, or injury resulting from the use of this content.
If you've just unboxed your Amazon eero Pro 7, congratulations—you're holding one of the most advanced Wi-Fi routers currently available. But we know that fancy tech can sometimes feel intimidating, especially when all you want is your internet to just work. This guide will take you step-by-step through everything you need to set up and use your Amazon eero Pro 7, from plugging it in to optimizing your home network like a pro. No tech jargon, no stress.
Characteristics of the Amazon eero Pro 7
Before you begin, here’s a short overview of what the Amazon eero Pro 7 offers. It features tri-band Wi-Fi 7, supporting 2.4 GHz, 5 GHz, and 6 GHz, allowing faster speeds and fewer interruptions when many devices are connected at once. It includes two 5 Gbps Ethernet ports per unit, ready for up to 5 Gbps internet plans, and covers around 2,000 square feet per unit. This guide follows exactly how Amazon instructs setup via its support documentation.
Getting Ready: What You’ll Need
Unbox and Check Contents
Inside the box, you’ll find three eero Pro 7 routers (if you purchased the 3-pack), power adapters, and a quick start guide. Each unit is identical, so you don’t need to worry about labeling or matching anything.
Download the eero App
Before plugging anything in, download the eero app from the Apple App Store or Google Play Store. You’ll use this app for the entire setup process—it’s simple, intuitive, and walks you through every step with visual prompts.
Choose Your Main Router
You’ll need to connect one of the units directly to your modem. Choose the one that will act as your main hub—ideally, it should be centrally located in your home for better coverage.
Step-by-Step Setup
1. Connect to the Modem
Use an Ethernet cable to connect one eero Pro 7 to your modem. Plug in the power adapter and wait for the LED light to start blinking white. This means it's ready to pair.
2. Launch the App and Create an Account
Open the app and sign in with your Amazon account or create a new eero account. It only takes a minute and requires just an email address and password.
3. Add Your First eero
The app will detect your device and prompt you to name its location (like “Living Room” or “Office”). This helps you identify each unit later on.
4. Add Additional Units
After setting up the first unit, the app will prompt you to add the remaining ones. Place them about halfway between the main router and the areas with weaker signals. Just plug them in, and the app will take care of pairing them automatically.
5. Let the System Update
Once all units are connected, the app may initiate a firmware update. Let it finish—this ensures optimal performance and security.
Understanding the App: What You Can Do
Device Management
Through the app, you can see every device connected to your network in real-time. You can pause internet access for any device (great for enforcing bedtime), assign nicknames, and group devices into profiles.
Guest Network
Want to give your visitors Wi-Fi without compromising your main network? Enable the Guest Network option and set a unique password.
Parental Controls
With the optional eero Plus subscription, you can set content filters and time limits for each profile, giving you more control over what your kids access online.
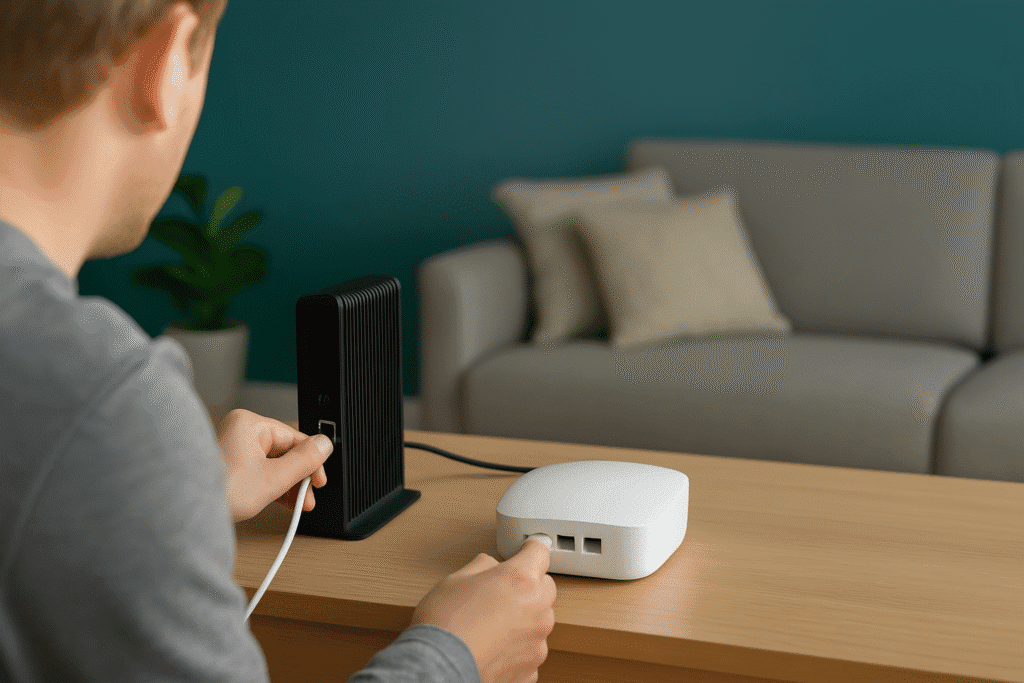
This image has been generated using AI for illustrative purposes only and does not represent an actual product image
Wi-Fi Placement Tips
Central Placement is Key
Put each eero unit on a flat, elevated surface—like a table or shelf—and away from walls or metal objects. This ensures a stronger signal throughout your home.
Minimize Obstructions
Avoid placing routers inside cabinets or near large appliances. Wi-Fi signals are like invisible waves—they don’t do well when blocked by walls or heavy furniture.
Use Ethernet if Needed
If your home is wired with Ethernet, connect your eeros via Ethernet for a faster, more stable connection. This is called a “wired backhaul” and is great for large homes or tricky layouts.
Enjoying Seamless Connectivity
Smart Home Integration
Amazon eero Pro 7 works flawlessly with Alexa. You can ask Alexa to pause the Wi-Fi, run a speed test, or even find out which devices are connected. If you have an Echo speaker, it can act as a Zigbee smart home hub too.
Automatic Updates
Once set up, the eero system updates itself regularly in the background, so you never have to worry about firmware or security patches.
Speed and Coverage
Each unit covers about 2,000 sq. ft., and the tri-band support means smoother performance, especially in homes with lots of devices streaming or gaming simultaneously.
Understanding the LED Lights
Here’s a quick guide to what the LED light colors mean on your eero Pro 7 unit:
| LED Color | Status |
|---|---|
| Flashing White | Device is starting up or ready to be set up |
| Solid White | Everything is working properly |
| Flashing Blue | Bluetooth pairing mode |
| Solid Blue | Setup complete and app connected via Bluetooth |
| Flashing Yellow | Hardware issue or overheating |
| Solid Red | No internet connection |
Pro Tip: If the LED shows a color not listed above, check the eero app for details. It often gives a direct explanation of the current issue or status.
And that’s it! Your eero Pro 7 is now fully set up and ready to power your entire home. Whether you're streaming, gaming, or just browsing, your internet connection should now be smoother, stronger, and smarter. Enjoy your new Wi-Fi experience!
Related posts:
- Amazon eero Pro 7 Tri-Band Mesh Wi-Fi 7 Router Review: Speed, Coverage, and Simplicity in One by EasySmartHomeGuide Editorial Team — Updated 1 September, 2025 Amazon...
- Amazon eero 7 Dual-Band Mesh Wi-Fi 7 Router Review: Affordable, Reliable, and Future-Ready by EasySmartHomeGuide Editorial Team — Updated 1 September, 2025 Amazon...
- Amazon eero Pro 7 Setup Guide: Get Your Home Wi-Fi Running Smoothly Amazon eero Pro 7 Setup Guide: Get Your Home Wi-Fi...
- NETGEAR Orbi 970 Series Review: Quad‑Band WiFi 7 Speed That Covers Every Corner NETGEAR Orbi 970 Series Quad‑Band WiFi 7 Mesh Network System by...
