Home Theater for Renters: Big Screen, Zero Damage
Build a renter-friendly home theater with a streaming stick, a compact soundbar, adhesive bias lighting, and voice routines. No drilling, no landlord drama. Use Night/Dialog modes and Quiet Hours. Everything packs up on moving day. See our broader foundation in smart home for renters and voice control tips in voice assistants for renters.
Why Your Landlord Secretly Loves This Setup
Security deposits and spackle are not a love story. Drilling, visible cable runs, and late-night booms get you on the wrong side of your lease. A no-drill, portable home theater solves it: devices rest on furniture, lighting is adhesive, and volume is civilized. You get big-screen vibes without holes, and your neighbors keep their sanity.
This guide stays practical and apartment-friendly. We’ll name a few specific products in each step as neutral examples (no prices, no Amazon links). Later, you can publish individual reviews and link to them from here, keeping the guide evergreen and monetization clean.
Why a Home Theater for Renters Is the Best Option
No-Drill & Damage-Free
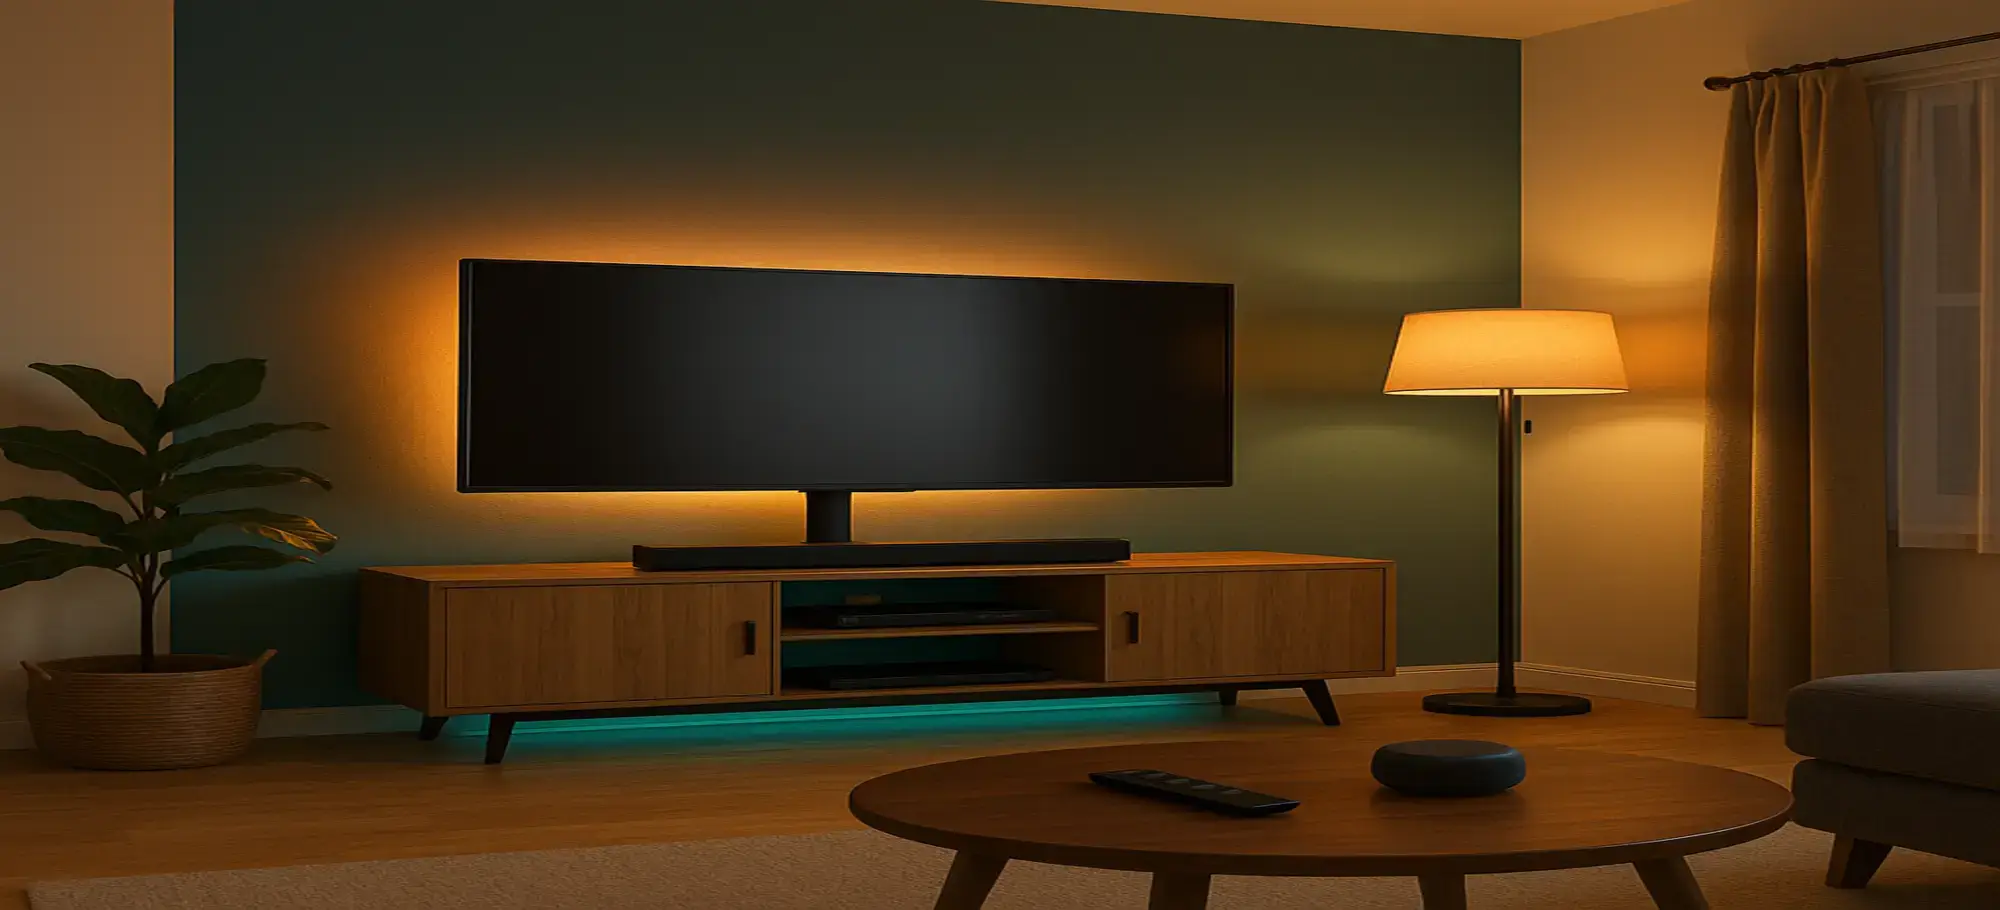
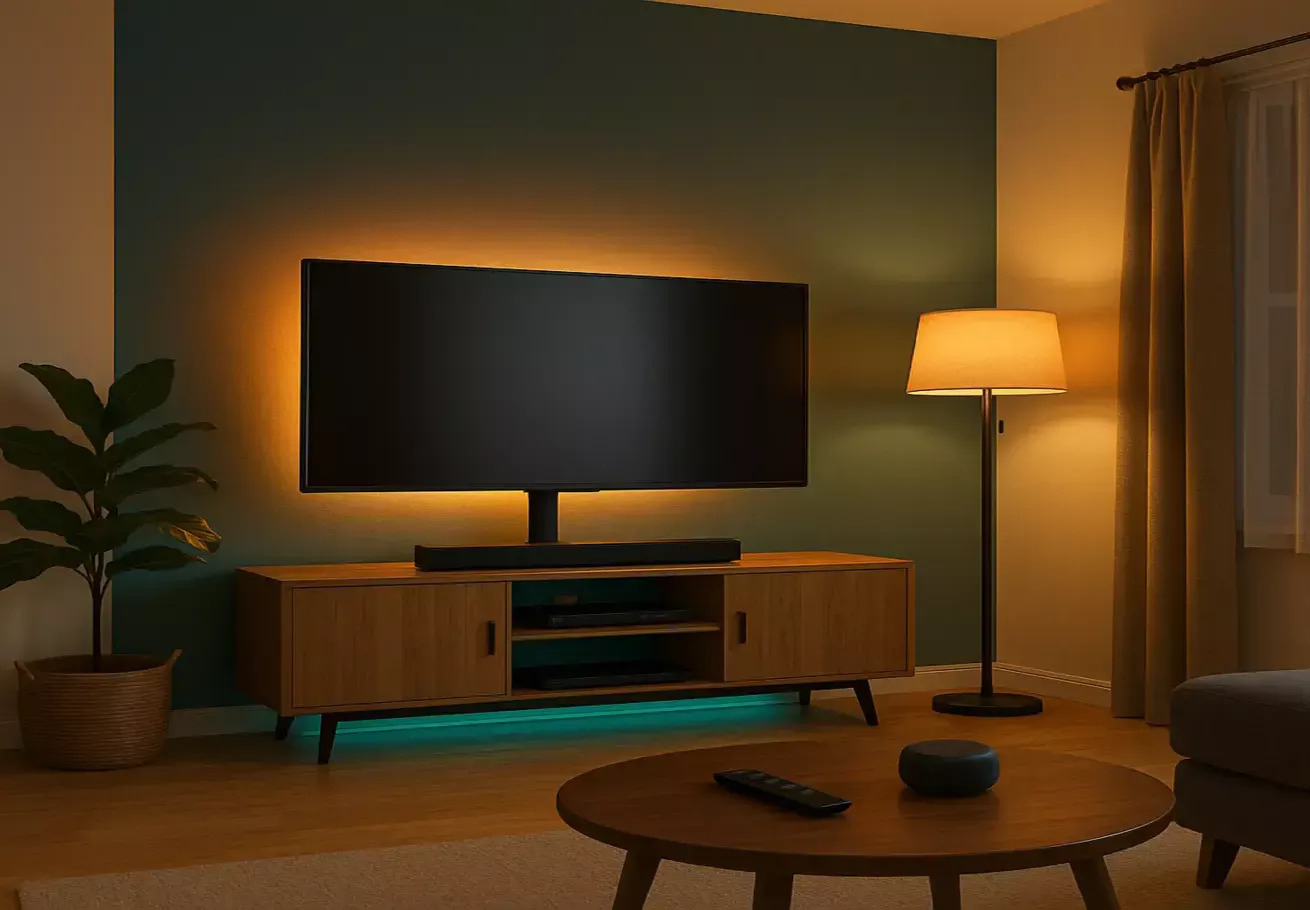
Place a soundbar on the TV console, use adhesive LED strips for bias lighting, and keep accessories on shelves. When you leave, you peel, pack, and go—no patched holes, no repainting.
Portable & Modular
Start with one stick and one bar. Add lighting, optional subwoofer, or a portable projector later. Because nothing’s permanent, you can iterate room by room and carry the whole setup to your next lease.
Quiet Hours, Big Sound
Late-night cinema is possible with Night and Dialogue enhancements on many bars. They shape dynamics so voices pop at lower volumes. Combine that with schedules and Do Not Disturb to avoid surprise explosions at 2 a.m.
Voice-Ready (Alexa/Google)
Routines like “Movie Night” can dim lights, switch inputs via HDMI-CEC, and start your streaming app with one phrase. That one-brain control means fewer remotes and fewer roommate debates.
How to Build a Damage-Free Home Theater (Step by Step)
We use two specific items per category as neutral examples to seed future reviews. Keep setup reversible and cable management clean.
Step 1: Pick the Brain (Voice + Streaming)
Use a streaming stick/box with voice control and HDMI-CEC so one remote can power and switch devices. Configure Wi-Fi, sign in to your services, and confirm the TV’s ARC/eARC port for audio return to the bar.
Quick compatibility checks:
Your TV should have HDMI ARC/eARC labeled on one port.
Enable CEC in the TV settings (brands rename it).
If the TV is older, set audio output to PCM first, then try DD+/Atmos later.
Neutral examples (2): Amazon Fire TV Stick 4K Max · Chromecast with Google TV 4K
Learn more: HDMI eARC overview (audio return to a bar/receiver) at HDMI.org, and CEC basics (single-remote control) on HDMI.org resources. hdmi.org+1
Bonus: If you’ve never set up voice automations, start with our voice assistants for renters primer, then layer movie routines here.
Step 2: Add Big Sound (Compact Soundbar + Optional Sub)
Pick a compact soundbar with ARC/eARC and Night/Dialog features. Place it centered on the TV console, with the front unobstructed. If you add a wireless sub, park it near a wall or corner to reduce volume needs.
Mini wiring map: TV (HDMI eARC) → Soundbar (HDMI eARC). Streamer → TV (any HDMI). If your TV lacks eARC but has ARC, you still return audio—just at lower formats in some cases.
Neutral examples (2): Sonos Beam (Gen 2) · Sony HT-S2000 (3.1ch)
Docs to trust: Sonos Speech Enhancement for clearer voices, from Sonos Support, and Sony HT-S2000 Night mode info in the official help guide. See Sonos Support and Sony Help Guide.
Step 3: Bias Lighting & LED Strips (Adhesive, No Drill)
Stick a LED strip behind the TV for bias lighting. It reduces eye strain and makes perceived contrast pop at lower brightness—great for apartments. Pick warm or neutral white for movies, then add a color scene for fun nights.
Placement tips: run the strip about 2–3 cm from the TV edge, avoid kinks around corners, and leave a small service loop near the USB/power feed. For bright rooms, you can add a second strip to the console’s back edge.
Neutral examples (2): Govee RGBIC LED Strip (16.4 ft) · Philips Hue Lightstrip Plus (Base Kit)
Docs to trust: Adhesive application and damage-free removal best practices from 3M Command™ (always pull the tab straight down to release). See 3M Command how-to. Command Brand
Step 4: Cable Taming (Clean & Reversible)
Route cables with adhesive raceways, low-profile ties, and short HDMI lengths. Avoid stapling or drilling. For HDMI, use certified cables appropriate to your devices and runs. HDMI LA explains cable types and certification programs here: HDMI Cable overview. hdmi.org
Pro wiring tip: keep power and signal bundles separate where possible, coil excess gently (no sharp bends), and label each end with painter’s tape (TV-eARC, Bar-HDMI, Stick-HDMI, LED-USB).
Step 5: Voice Routines for Apartments
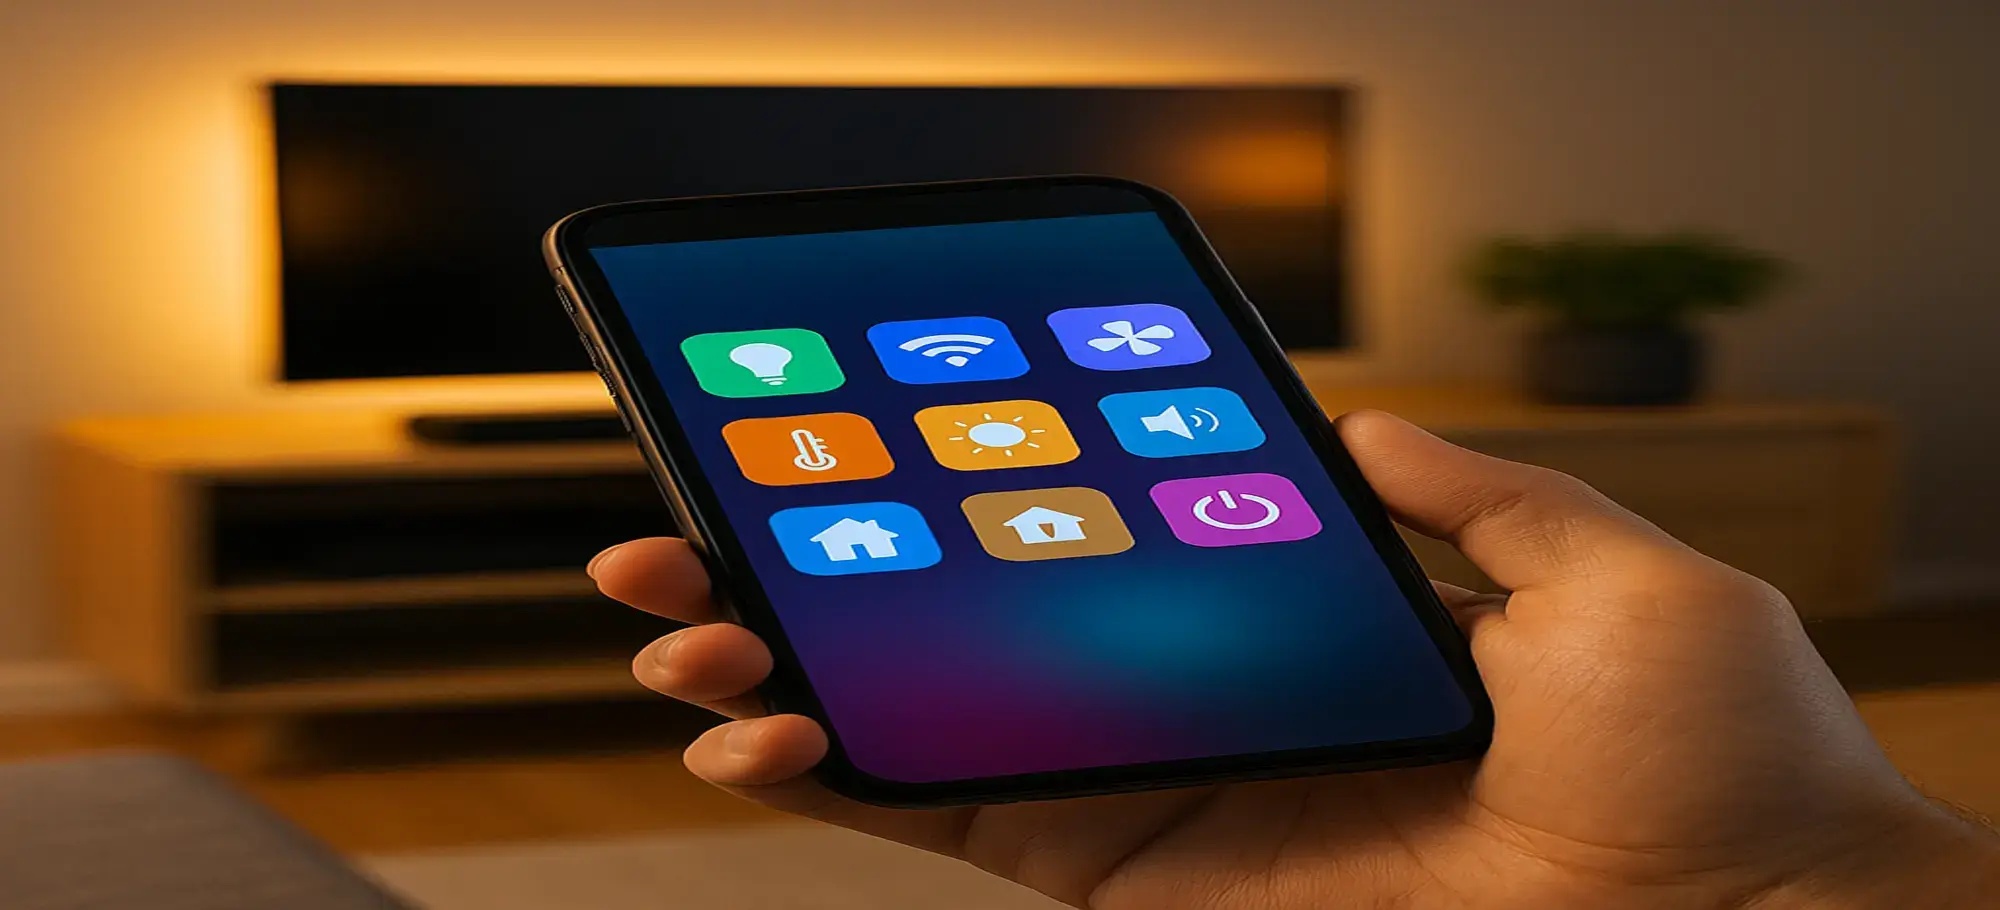
Create Movie Night and Quiet Hours. Movie Night should switch to your streamer, set volume modestly, and dim LEDs. Quiet Hours limits volume after a certain time and enables Do Not Disturb. See Google Home routines setup in Google Help and Alexa Routines in Amazon Help. Google AyudaAmazon
Recipe ideas:
“Movie Night” → input: streamer; set bar to 20–30% volume; LED to warm 30%; launch your app.
“Quiet Hours” (10 p.m.–7 a.m.) → cap volume at ~20%; enable DND on speakers; optional: pause notifications.
“Guest Mode” → temporarily allow generic voice control without personal results; restrict purchases.
Tip: If HDMI-CEC is flaky, toggle CEC on the TV and bar, then power-cycle. Some TVs brand CEC with custom names—consult your TV’s manual.
Step 6: Optional Big Picture (Projector Without Holes)
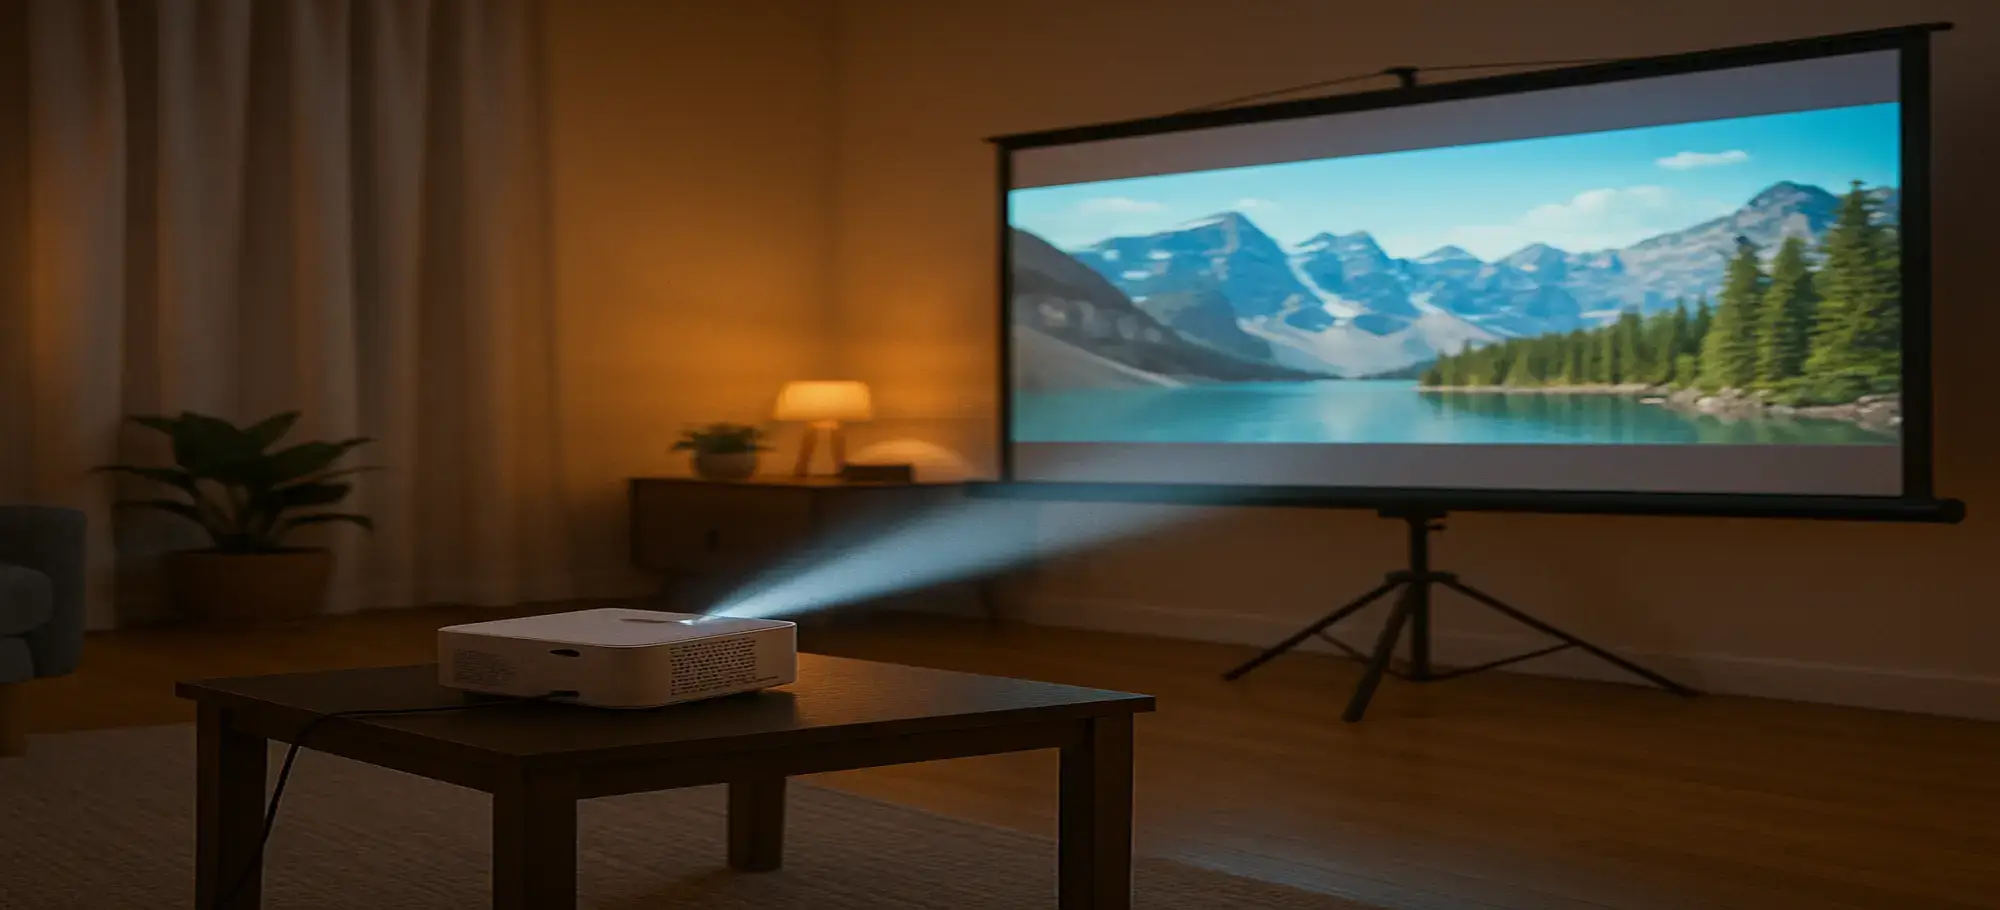
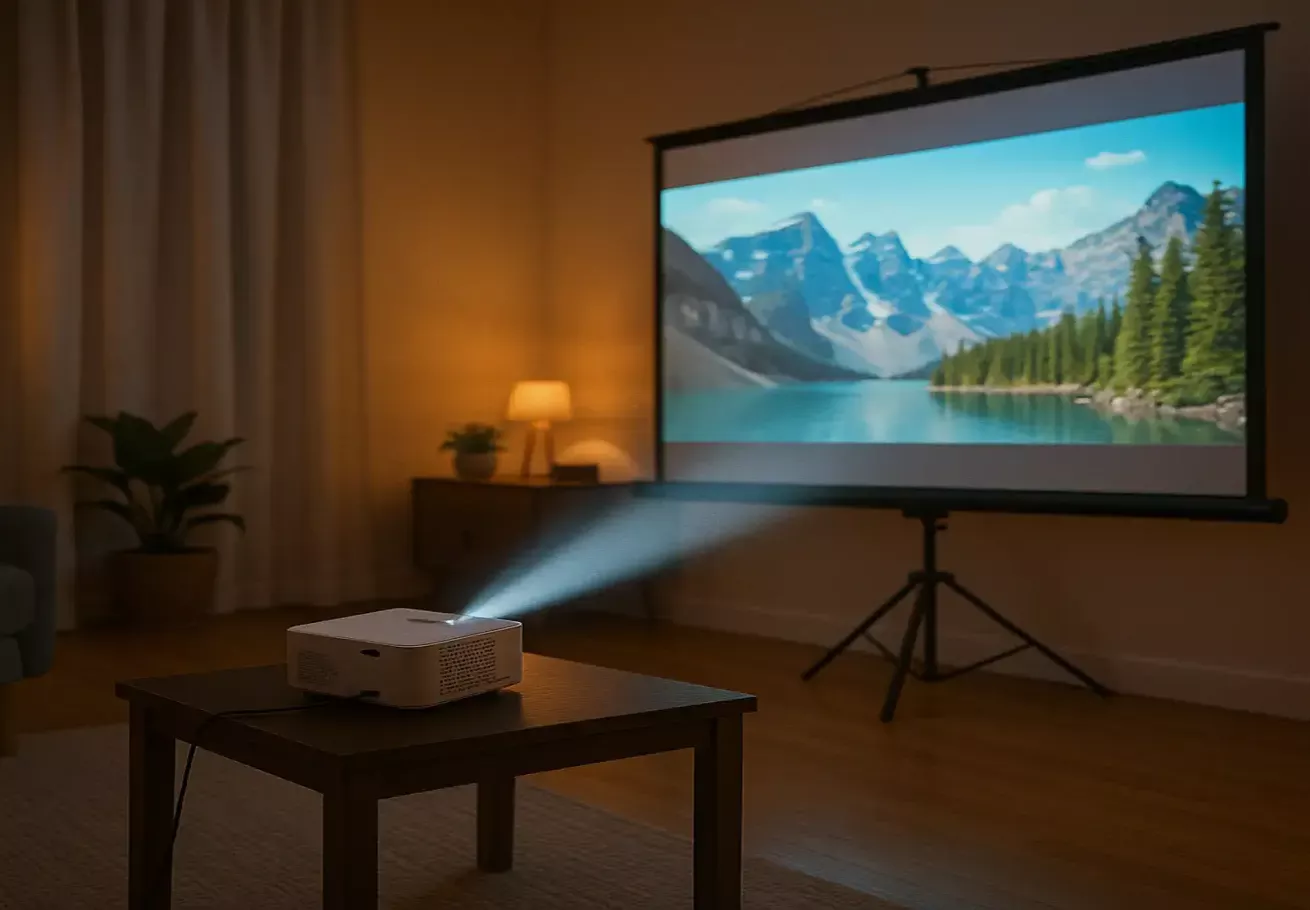
Portable projectors live on a table or shelf—no ceiling mount needed. Keep throw distance short and use a tripod or stack of books to align. For a screen, try a pull-down or tripod model; a plain white wall works in a pinch.
Neutral examples (2): NEBULA Capsule 3 Laser (1080p) · XGIMI Halo+ (Google TV, battery)
Projector tips: darken the room with curtains, keep light sources behind you, and start at 80–100″ before chasing bigger sizes. For neighbors, watch in Movie picture mode at lower brightness to reduce wall spill.
Step 7: Stand It Up (No-Drill Floor TV Stand)
If wall height or viewing angle is off, a floor TV stand raises the panel without drilling. Look for a weighted base, VESA compatibility, cable channels, and a shelf for your bar/box. Test stability on your flooring and keep walkways clear.
Neutral examples (2): TAVR Universal Floor TV Stand (32–75″) · FITUEYES Iron Base Floor TV Stand
Safety note: set the base on a level surface, avoid high-traffic edges, and use the included anti-tip strap if it clips to furniture (not walls).
Step 8: Test & Tune (Neighbors-Friendly)
Run a familiar dialogue-heavy scene and a music-heavy scene. Enable Dialog/Speech enhancement and lower the sub until voices are clear at modest volume. Sit at your real viewing distance; small rooms often need less bass than you think.
Quick checklist:
Dialog clear at 15–25% volume?
Sub not rattling shelves?
LEDs not reflecting on the screen?
One-remote control working (CEC)?
Step 9: Move-Out Checklist (True Portability)
Label cables and power bricks, take photos of your wiring, and store accessories in zip bags by device. For adhesives, warm gently with a hair dryer and stretch tabs straight down to release. Reset any devices you’re gifting, and wipe your streamer accounts before handing over old gear.
Pro Tips for Apartment Dwellers
Place the soundbar with its tweeters unobstructed; avoid shoving it inside a closed shelf.
Try dialogue mode for shows and night mode after 10 p.m.
Use CEC so one remote powers TV + bar; if it misbehaves, re-enable CEC on both ends.
Keep LED brightness low at night; warmer scenes feel calmer and neighbor-friendly.
A floor stand centers the screen without a single hole—ideal for rentals.
Keep a simple cheat sheet of voice commands on the fridge for roommates/guests.
If building Wi-Fi is flaky, a compact travel router can stabilize pairings.
For roommates, set Guest Mode/Voice Match rules in your assistant so personal results stay private.
Use app-level audio limits for streaming services if your bar lacks a volume cap.
Frequently Asked Questions (FAQ)
Can I run everything from one remote?
Often, yes. HDMI-CEC lets devices talk so one remote can power on and switch inputs. Brands rename CEC, but the concept is the same. Learn about CEC in HDMI’s official resources. See HDMI.org. hdmi.org
Do I really need eARC?
If you want the best formats from TV apps (and simpler cabling), eARC is valuable because TV audio can return to your soundbar over one HDMI cable. Read the official eARC overview at HDMI.org. hdmi.org
Will adhesive LED strips damage paint?
Applied to clean, dry surfaces and removed correctly, reputable strips and mounting tabs release cleanly. Always pull the tab straight down to stretch-release. See 3M’s instructions: Command™ how-to. Command Brand
How do I automate Movie Night and Quiet Hours?
Use platform routines: Google Home routines (time, voice, or presence triggers) and Alexa Routines (time/voice/sensor triggers). See setup guides at Google Help and Amazon Help. Google AyudaAmazon
What if I move next month?
That’s the beauty here. Everything is plug-in and portable. Keep boxes, label cables, and take photos. In your new place, connect the streamer first, then the bar and LEDs. Re-name rooms and re-run Movie Night.
Can I get good sound without bothering neighbors?
Yes: prioritize dialogue enhancement, keep sub volume conservative, and use TV headphones late at night if you need extra punch. Many bars also offer a Night or Late-night mode to reduce loud peaks. See Sony’s note on Night mode in the HT-S2000 help guide. Guía de Ayuda Sony
Final Reflection
You don’t need drills, brackets, or noise complaints to enjoy cinema at home. With a streaming brain, a compact bar, adhesive lighting, and voice routines, you get a setup that’s easy to live with and just as easy to pack. Start small—one bar, one stick, one LED—and scale as your apartment and budget evolve.
Related posts:
- The Brain of Your Rental: How Voice Assistants for Renters Create a Damage-Free Smart Apartment The Brain of Your Rental: How Voice Assistants for Renters...
- THE DEFINITIVE GUIDE TO A SMART HOME FOR RENTERS THE DEFINITIVE GUIDE TO A SMART HOME FOR RENTERS by...
- HOW TO INSTALL A SMART LOCK FOR RENTERS (A NO-DRILL GUIDE) HOW TO INSTALL A SMART LOCK FOR RENTERS (A NO-DRILL...
- Forget Everything Else: The Ultimate August Wi-Fi Smart Lock Guide for Renters. by EasySmartHomeGuide Editorial Team — Updated 3 September, 2025 Forget...


