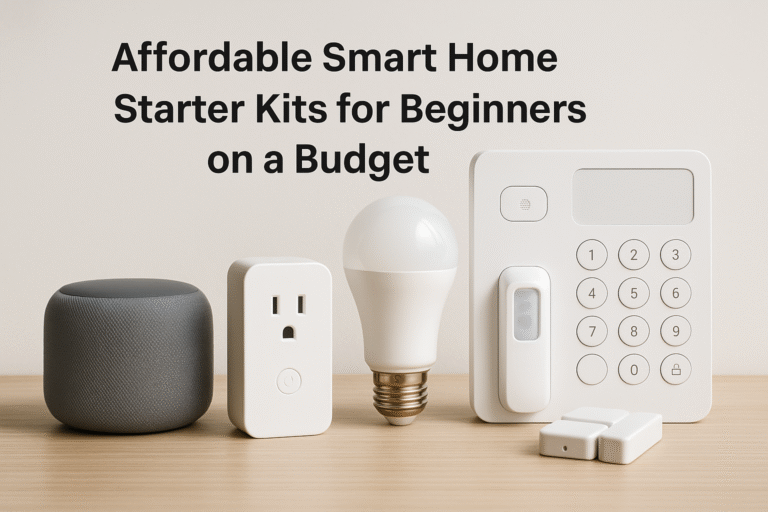
This image has been generated using AI for illustrative purposes only and does not represent an actual product image.
Google Nest Thermostat Setup: How to Install & Set Up (4th Gen, 2024)
Beginner-Friendly Google Nest Thermostat Setup Guide
Welcome! This Google Nest Thermostat setup guide is perfect if you just got your thermostat and want to make your home smarter and more energy-efficient. We’ll walk you through every step, from unboxing to controlling your home’s temperature like a pro — no tech jargon, promise.
What You’ll Need
The Google Nest Thermostat (4th Gen, 2024)
Included base plate and screws
A screwdriver (usually Phillips head)
Your phone with the Google Home app installed
Wi-Fi network name and password
A cup of patience (optional, but helpful)
A photo of your old thermostat’s wiring (optional but smart)
Before you start, first remember to check that your HVAC system is compatible with the wiring of the Google Nest Thermostat.
Step-by-Step Setup
✅ STEP 1
🔌 Turn Off the Power (Seriously, Do It)
No, really. Head to your circuit breaker and switch off power to your HVAC system.
You don’t want to be the person who gets zapped while trying to save on heating bills.
✅ STEP 2
💡 Say Goodbye to Your Old Thermostat
- Gently pop off the front cover.
- Snap a quick photo of the wiring — future-you will thank present-you.
- Unscrew and remove the base plate.
- Label the wires if you’re feeling extra organized.
This image has been generated using AI for illustrative purposes only and does not represent an actual product image.
✅ STEP 3
📱 Check Compatibility (Nest Will Help You)
Nest makes this part easy. Open the Google Home app and start the thermostat setup.
It will guide you through checking wire compatibility.
If something doesn’t match up, the app will let you know before anything goes wrong.
✅ STEP 4
🛠️ Install the Nest Base Plate
- Grab the Nest base and place it where your old one was.
- Feed the wires through the center.
- Use the built-in level to make sure it’s straight (your wall deserves it).
- Screw it into place — not too tight, you’re not building a rocket.
✅ STEP 5
🔗 Connect the Wires
- Insert each wire into its labeled slot.
- The Nest base will hold them snugly (click!).
- Gently tug to make sure they’re secure.
Take a step back and admire your wiring job — it’s art.
✅ STEP 6
🟢 Snap on the Nest Display
This is the moment. Line up the round Nest display and press it into place until you hear a soft click.
It should light up like it’s saying “hello, future!”
✅ STEP 7
⚡ Turn the Power Back On
Go back to the breaker and flip the switch. Your thermostat will power up and do its little startup dance.
✅ STEP 8
📲 Set It Up in the Google Home App
- Open the Google Home app.
- Tap “+” → Set up device → New device.
- Follow the steps to connect your Nest to Wi-Fi and your Google account.
Name it something fun like “Living Room Brain” or “Heat Commander.”
✅ STEP 9
🧠 Teach It Your Schedule (Or Let It Learn)
Nest is called “Learning” for a reason. It starts noticing when you’re home, away, asleep, cooking, or binging TV under a blanket.
But you can also set a custom schedule if you love structure.
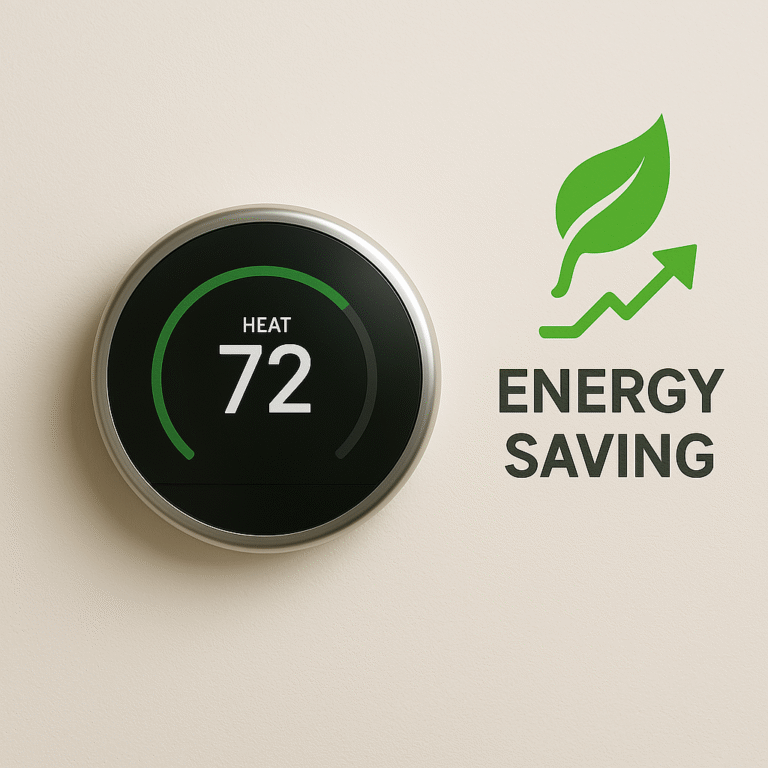
This image has been generated using AI for illustrative purposes only and does not represent an actual product image.
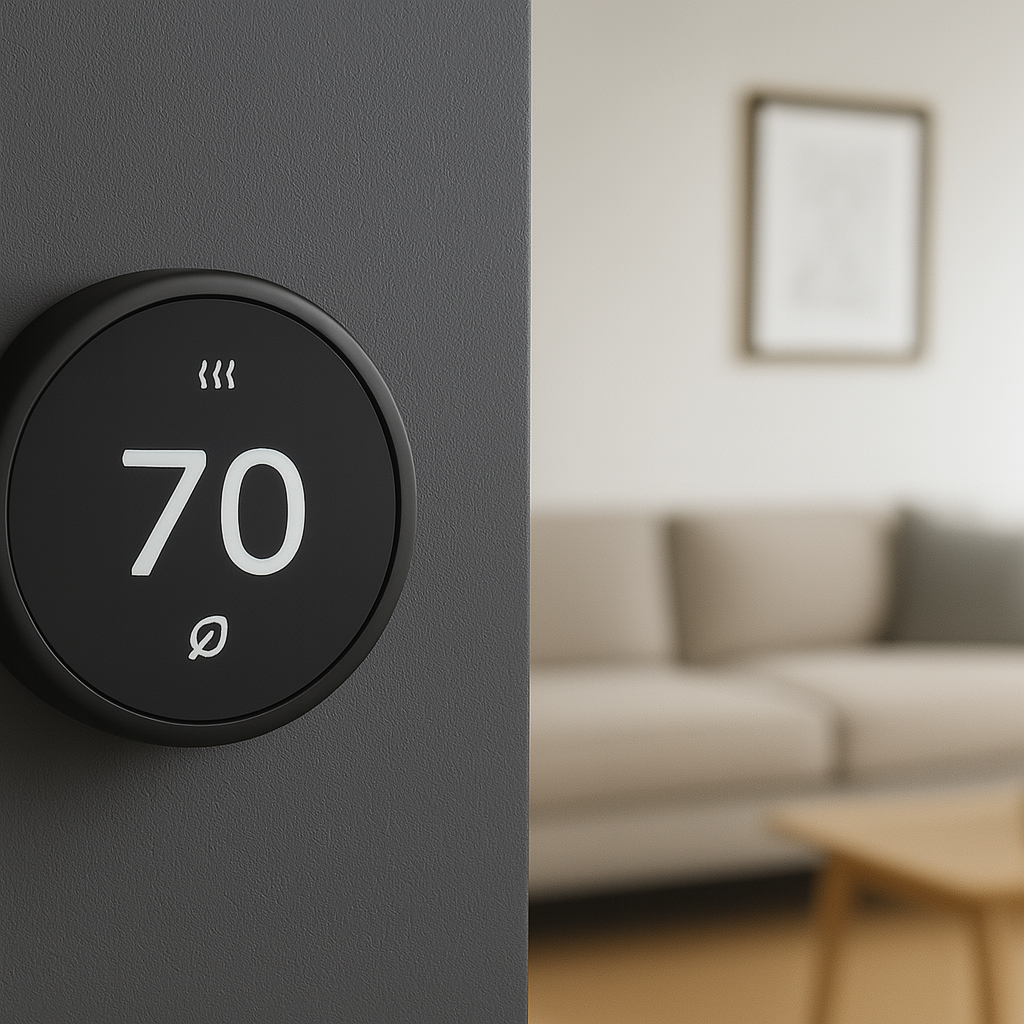
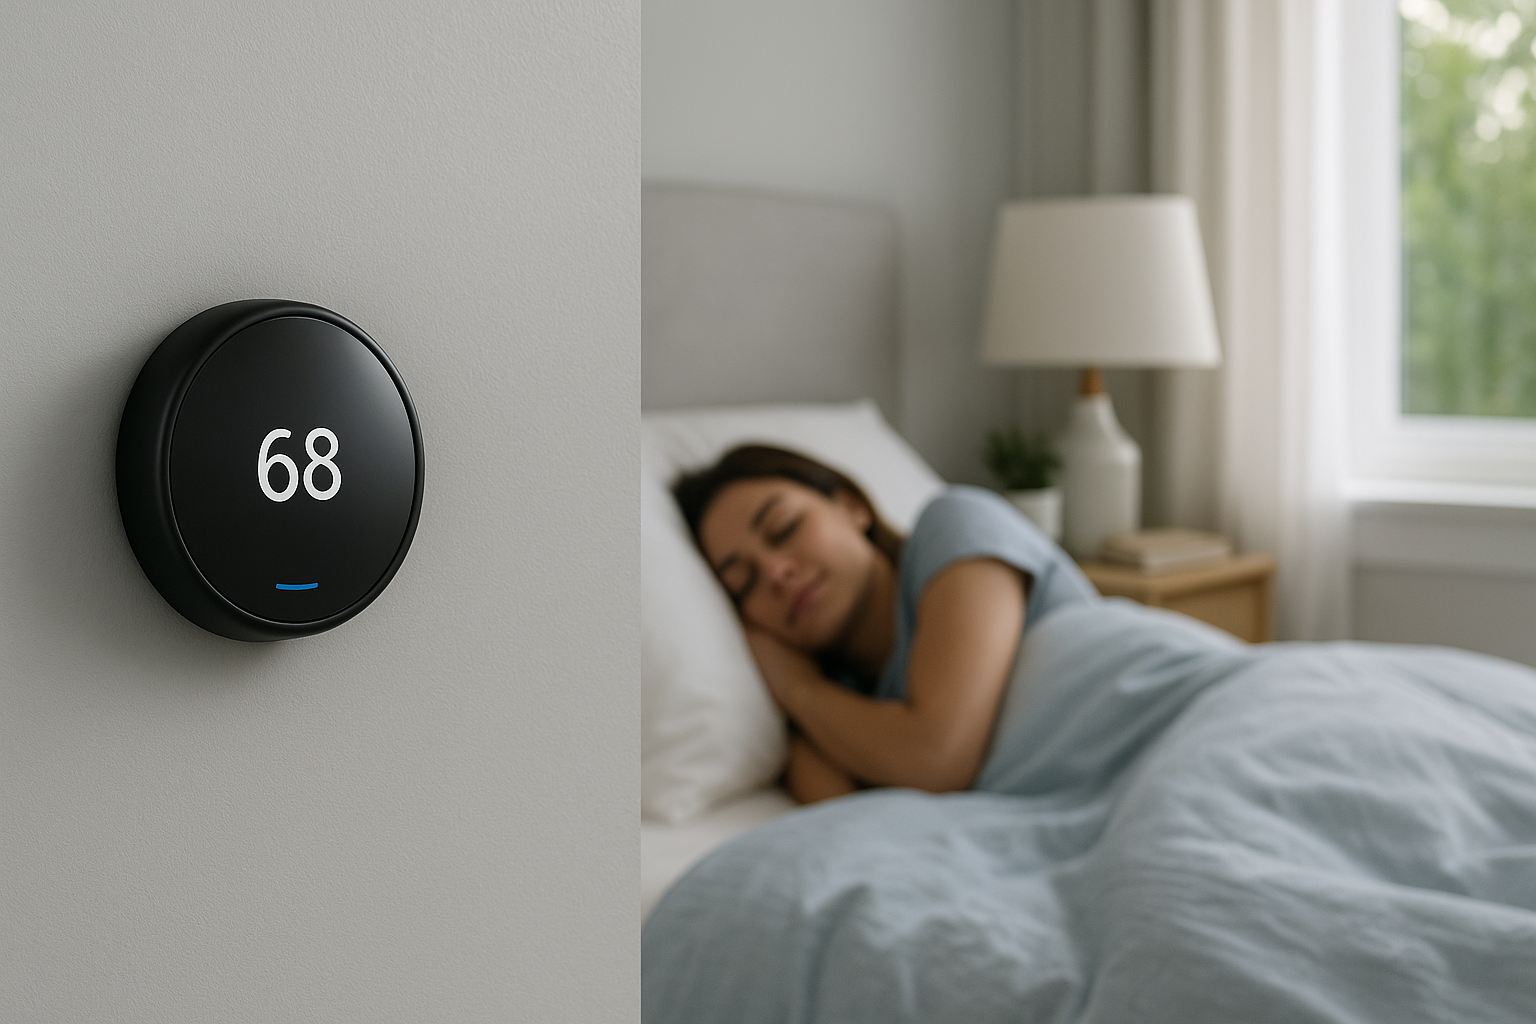
Bonus: Use It Hands-Free
Once connected, you can control it by voice:
“Hey Google, set the temperature to 72.”
Or open the app from anywhere — yes, even from bed or the beach.
Hands-free comfort, baby.
What If Something Goes Wrong?
If your Nest doesn’t turn on, or the HVAC system acts up:
Double-check the wiring
Make sure you flipped the right breaker
Reopen the Google Home app — it often tells you what’s wrong
If things still look weird, visit Google’s official support (they’re surprisingly nice)
Final Tips
Nest helps you save energy automatically.
You might even get rebates from your energy provider.
Look for the “Leaf” icon — that means you’re saving.
Don’t be afraid to tweak the settings — you won’t break it (probably).
Don’t Have One Yet?
Thinking of getting the Google Nest Learning Thermostat? Check availability and pricing on Amazon.
Check out our other smart home guides for more step-by-step setups.
.
For more help, visit the official Google Nest support page.
Related posts:
- Google Nest Learning Thermostat Review (4th Gen, 2024) Google Nest Learning Thermostat Review (4th Gen, 2024) Welcome to...
- Blink Mini 2 Indoor Camera Setup Guide Blink Mini 2 Indoor Camera Setup Guide – Easy Install...
- Yale Assure Lock 2 Touch Setup ✅ 📌 Yale Assure Lock 2 Touch Setup Guide –...
- Top 5 Smart Plugs for Beginners (Easy Setup & Budget-Friendly) Top 5 Smart Plugs for Beginners (Easy Setup & Budget-Friendly)...