Amazon eero Pro 7 Setup Guide: Get Your Home Wi-Fi Running Smoothly
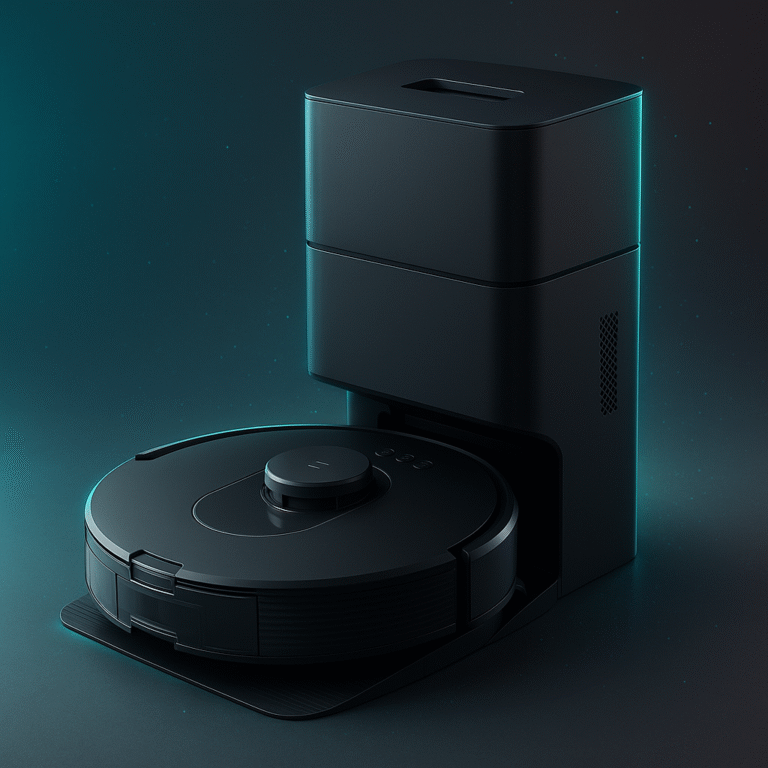
This image has been generated using AI for illustrative purposes only and does not represent an actual product image
Disclaimer:
This guide is for informational purposes only and does not replace professional technical support. Always follow the manufacturer’s instructions when setting up or using your device. easysmarthomeguide.com is not responsible for any damage, data loss, or injury resulting from the use of this content.
How to Set Up and Use the Amazon eero Pro 7
Welcome! This guide will walk you through how to set up and use the Amazon eero Pro 7, a tri band mesh Wi Fi 7 system. No jargon, no guessing—just clear, simple steps based entirely on official setup instructions and verified technical details. By the end, your home network will be up and running at full strength without any confusion.
Characteristics of the Amazon eero Pro 7
Before you begin, here’s a short overview of what the Amazon eero Pro 7 offers. It features tri-band Wi Fi 7, supporting 2.4 GHz, 5 GHz, and 6 GHz, allowing faster speeds and fewer interruptions when many devices are connected at once. It includes two 5 Gbps Ethernet ports per unit, ready for up to 5 Gbps internet plans, and covers around 2,000 square feet per unit. This guide follows exactly how Amazon instructs setup via its support documentation.
Step-by-Step Setup (No Tech Headaches)
Step 1: What’s in the Box & Requirements
Inside you'll find the eero device, a power adapter, and an Ethernet cable. You’ll also need:
- A smartphone (Android or iOS) with internet access
- Your existing modem or modem-router
- A free electrical outlet
- A working Amazon account or email
Step 2: Install the App
Download the eero app from the App Store or Google Play. The app is the only way to configure your eero — setup on a computer or web browser is not supported.
Step 3: Connect Your Main eero Unit
- Unplug power from your modem and any router or gateway devices.
- Connect the Ethernet cable from your modem to one of the eero’s Ethernet ports.
- Plug in the eero and then power on your modem again.
- The eero’s LED light will flash white, then become solid white when ready.
Step 4: Create Your Network in the App
- Open the eero app and sign in using your Amazon credentials or email.
- The app will automatically detect the eero. Assign it a name (like “Living Room”).
- Set your Wi Fi name (SSID) and password. Reusing your old SSID helps connected devices join automatically.
- If your modem was also a router, the app may prompt enabling bridge mode to avoid connection conflicts.
Step 5: Add More eero Units
To expand coverage:
- Plug additional eero devices in locations facing weak signal spots.
- Follow the app prompts to add each unit—they join the mesh automatically.
- Ideal placement: flat surfaces, away from large metal objects, electronics, or cabinets. Keep units on open shelves or countertops.
Step 6: Connect Your Devices
- On your phone, tablet, or computer: find the new SSID in Wi Fi settings and enter the password you set.
If you reused the SSID and password from your old router, most devices will reconnect automatically. If not, toggle Wi Fi or restart the device to refresh the connection.
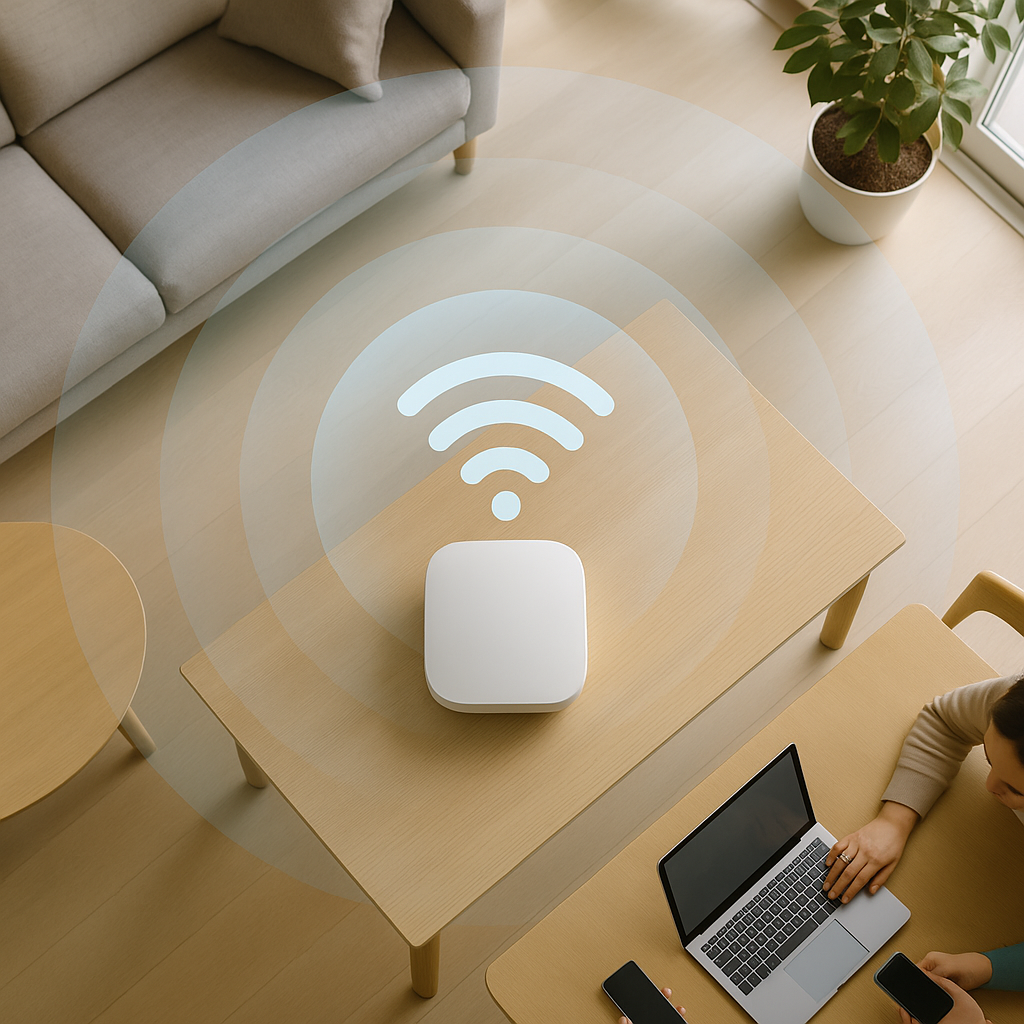
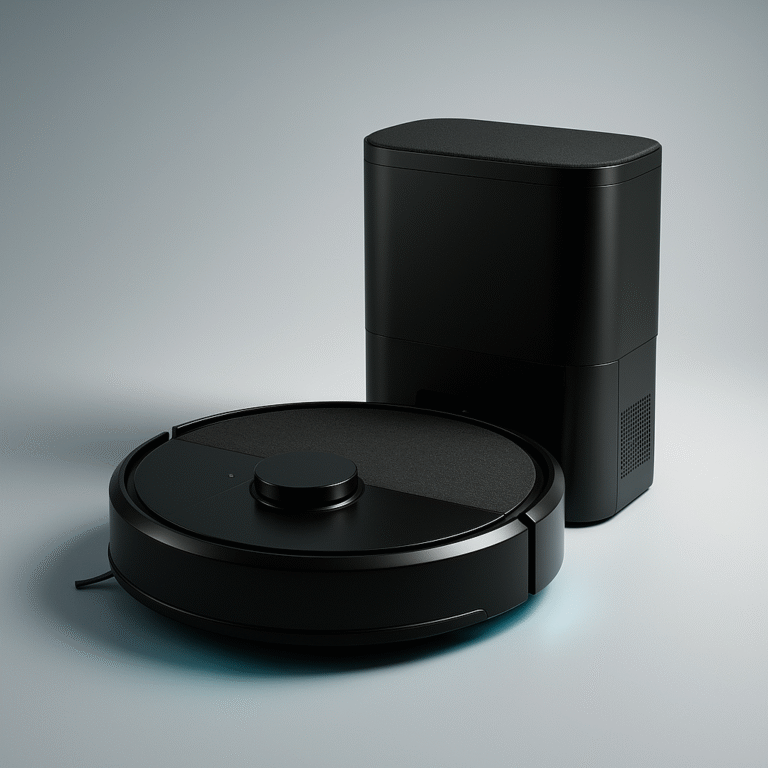
This image has been generated using AI for illustrative purposes only and does not represent an actual product image
Helpful Tips & Common Issues
Let the Modem Reset for Best Results
If you previously had a different router, power-cycle your modem without any device connected for at least a minute before starting setup. This lets your modem “forget” the old device and recognize the new eero correctly
Ideal Placement Suggestions
Good placement means better signal. Place units:
- Elevated off the floor
- In open areas with minimal obstruction
- Away from mirrors, microwaves, or metal appliances
Optional Settings Inside the App
Advanced features like band steering or latency improvements may appear under "eero Labs" in the app. They enhance performance but are optional and labeled experimental.
Update Notifications
If the app prompts a software update during setup, allow it. Keeping your firmware current ensures security and stability.
Quick Examples of Good Usage
Imagine this typical home scenario:
- Router in living room, main entertainment hub
- One eero unit upstairs, covering bedrooms and offices
- Another unit in basement or garage, supporting devices there
With this layout, your phone automatically stays connected while moving between floors; live video, Zoom, and streaming work without interruption. Devices like smart speakers or lights join the mesh seamlessly once you've entered your SSID and password.
Summary
This guide covered everything from unboxing and joining the eero network to placement tips and optional settings. The Amazon eero Pro 7 gives you a modern, user-friendly Wi Fi 7 mesh system that anyone can set up—without technical headaches.
Related posts:
- Amazon eero Pro 7 Tri-Band Mesh Wi-Fi 7 Router Review: Speed, Coverage, and Simplicity in One Amazon eero Pro 7 Tri-Band Mesh Wi-Fi 7 Router Review:...
- Blink Mini 2 Indoor Camera Setup Guide Blink Mini 2 Indoor Camera Setup Guide – Easy Install...
- Amazon eero 7 Dual-Band Mesh Wi-Fi 7 Router Review: Affordable, Reliable, and Future-Ready Amazon eero 7 Dual-Band Mesh Wi-Fi 7 Router Review: Affordable,...
- What Is Amazon Alexa? A Beginner’s Guide to Your Voice-Controlled Assistant What Is Amazon Alexa? A Beginner’s Guide to Your Voice-Controlled...
